Austin B.
New Year, Same Old Things
Unfortunately I was still rather busy through the month of January, so my progress then on hobby stuff ground to a screeching halt throughout that month. I only got done with a few figures, in sporadic bursts. And just as I was getting back in the groove, I fell ill in early February, putting another stop on painting plans. Only recently have I gotten back into the swing of things, and with these various hiccups, some plans have shifted, and new projects have sprung forth. But that does not mean previous ones were abandoned!
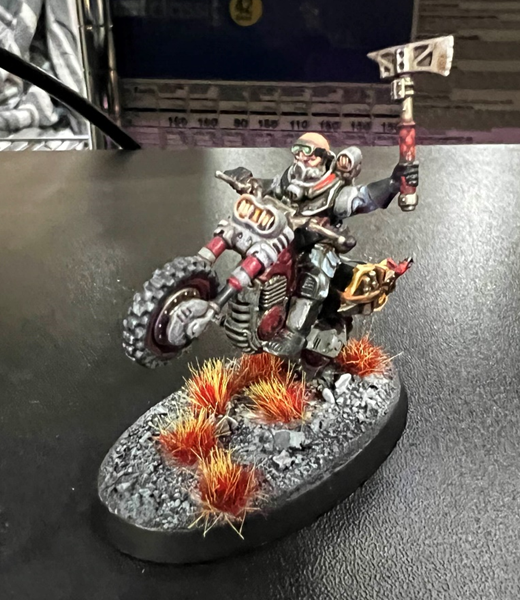
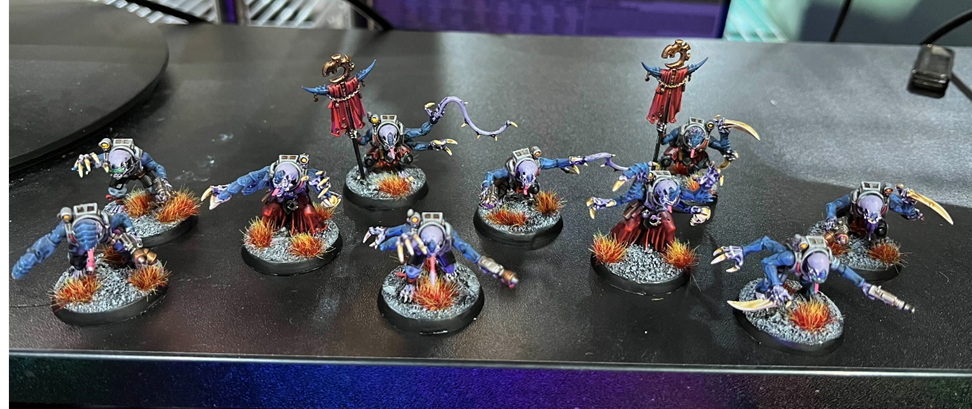
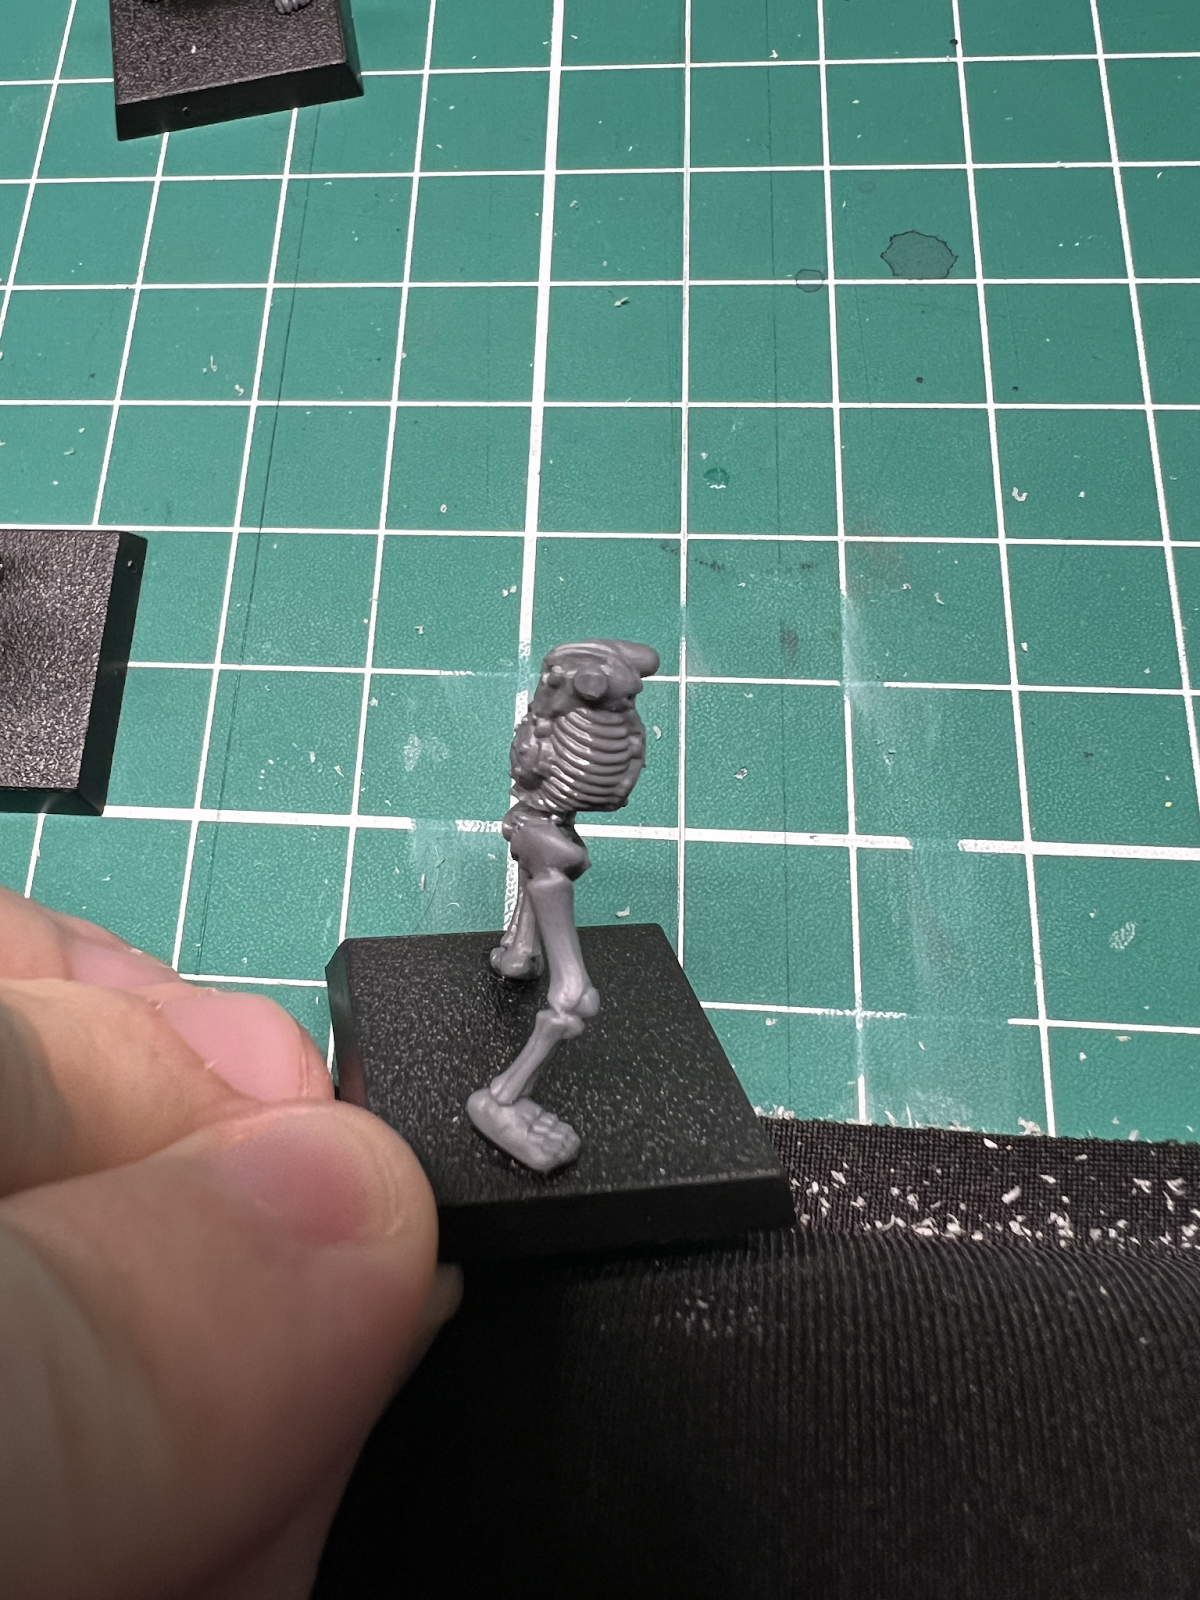
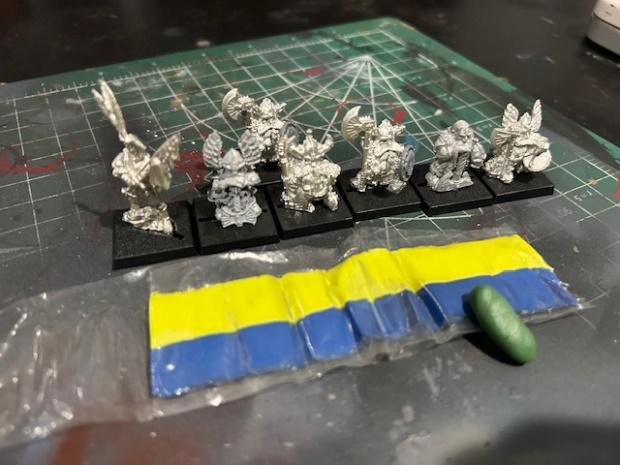
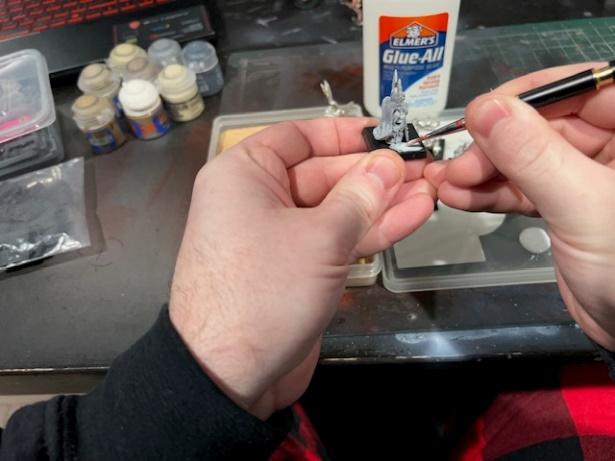
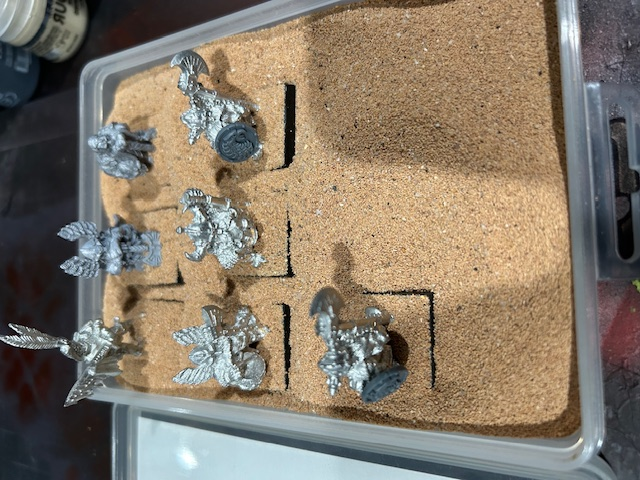
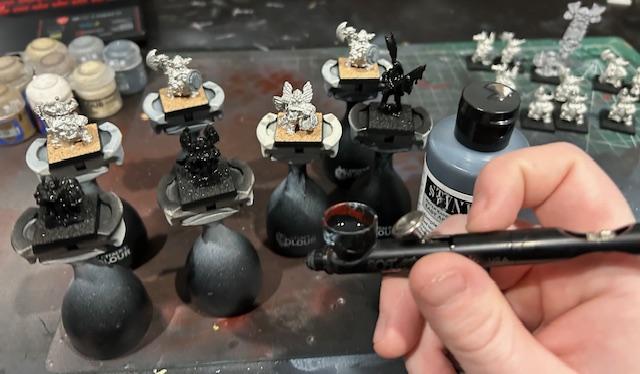
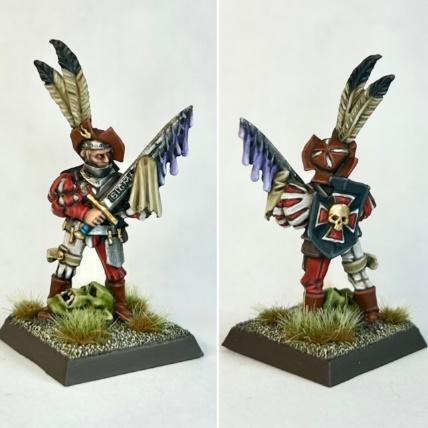
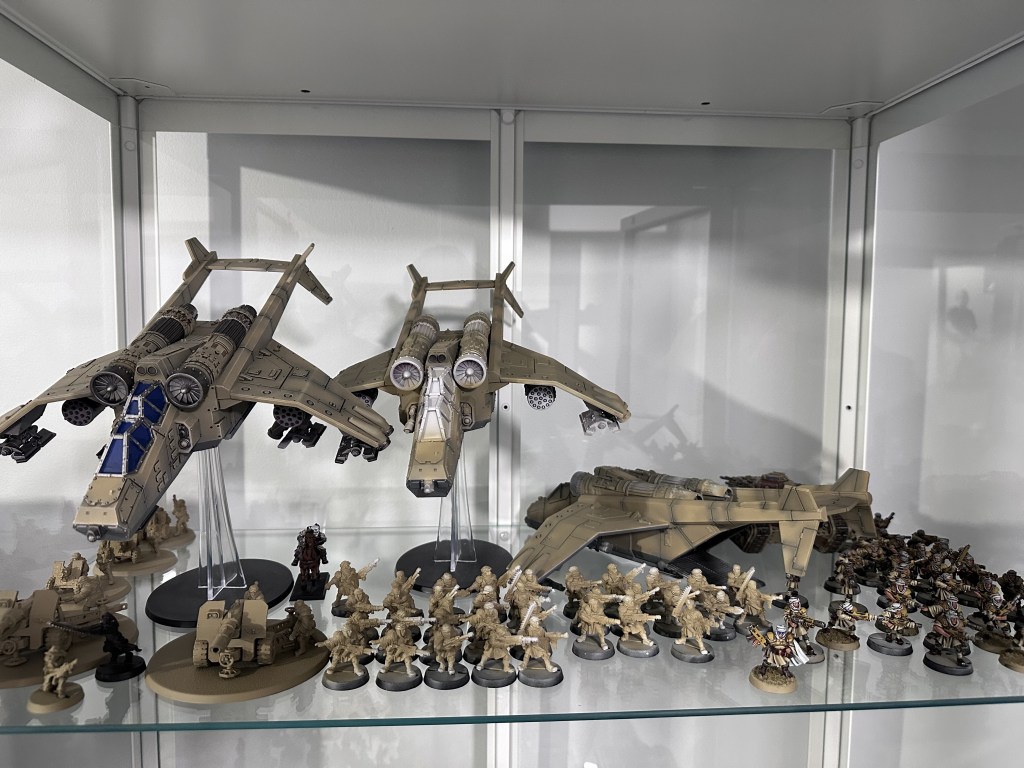
On the MESBG front, while the Rohan has been temporarily shelved, I was able to finish the last dozen-ish models I needed to convert my completed Ugluk’s Scout’s over to being playable as Lurtz’s Scouts – including Lurtz himself! Twice over, actually! A second banner bearer and Captain join him, as well as all of the metal Uruks from the Amon Hen boxed set – including the lovely pair carrying Merry and Pippin!

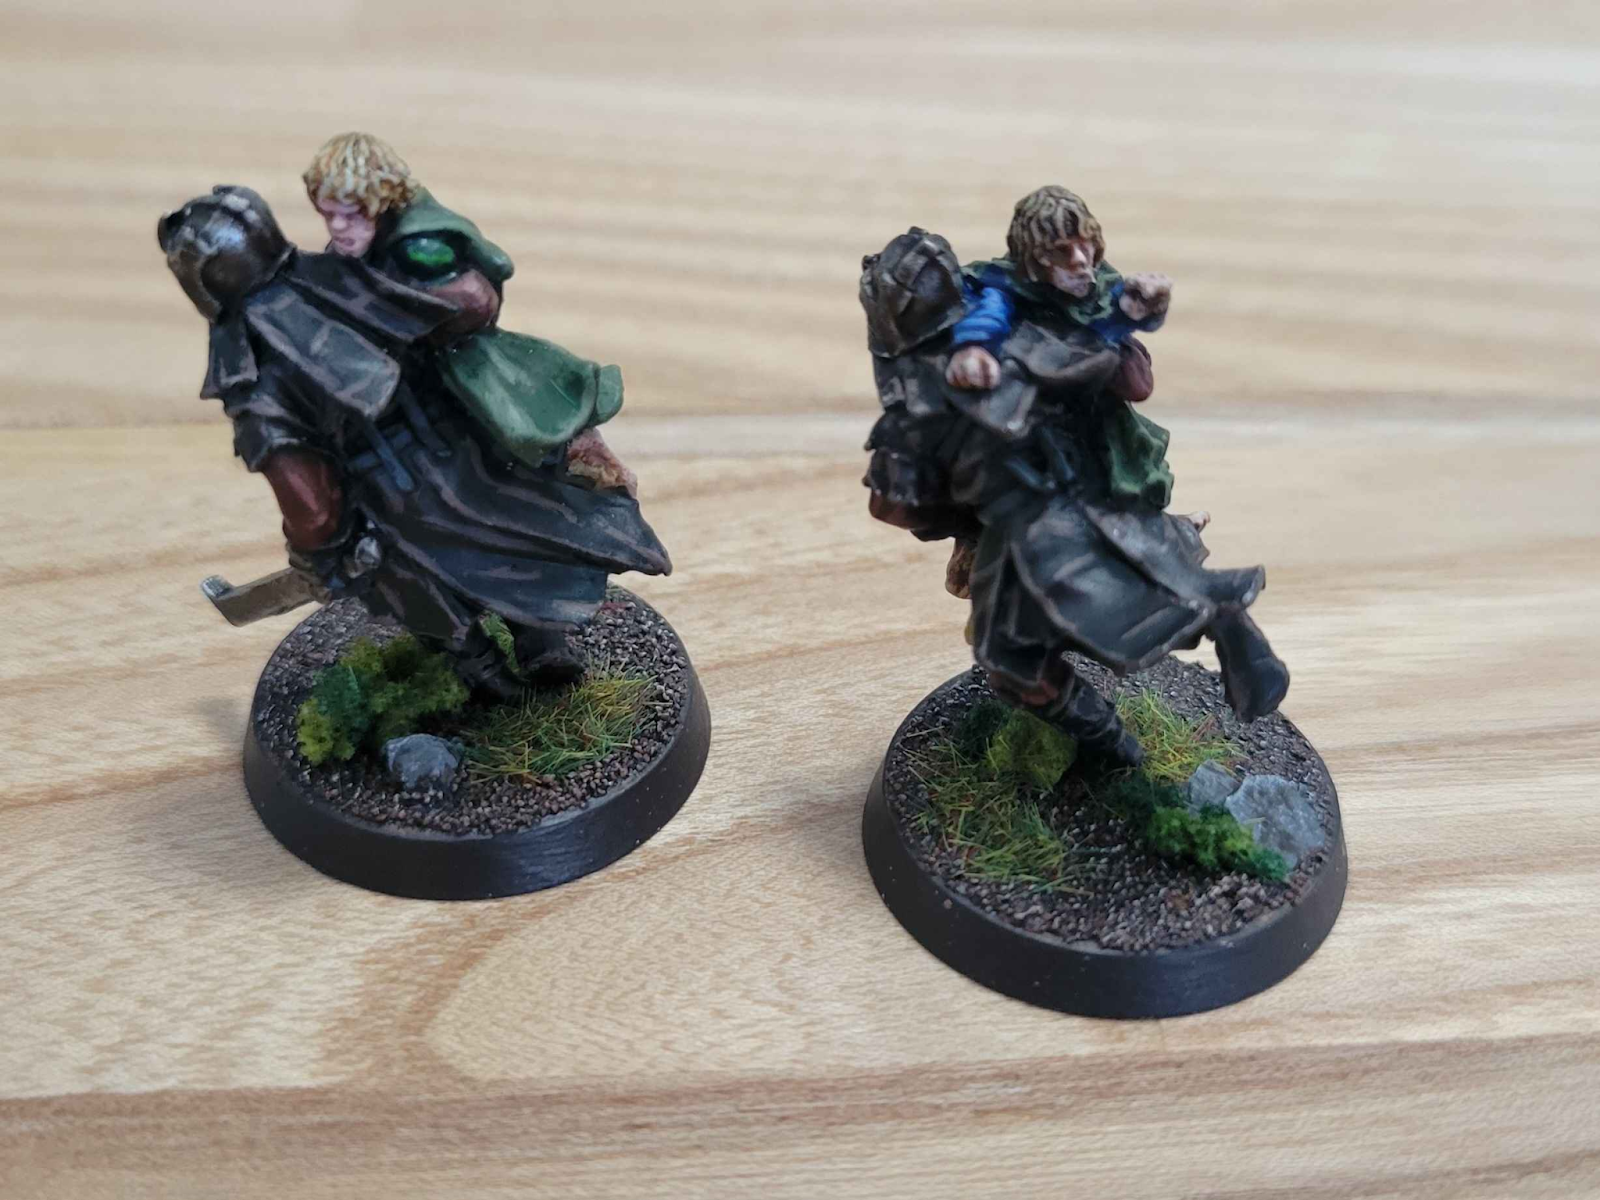
I haven’t pictured all of the finished models. There were a few additional plastic Uruk-hai Scouts that needed to be painted up as well, to round out the numbers. In-fact, of the two total boxes I have of the Scouts, I still have about another dozen left to finish them all – plus some ancillary pieces. Maybe I will finish them all someday, if I ever feel so inclined to bring this army to a larger event.
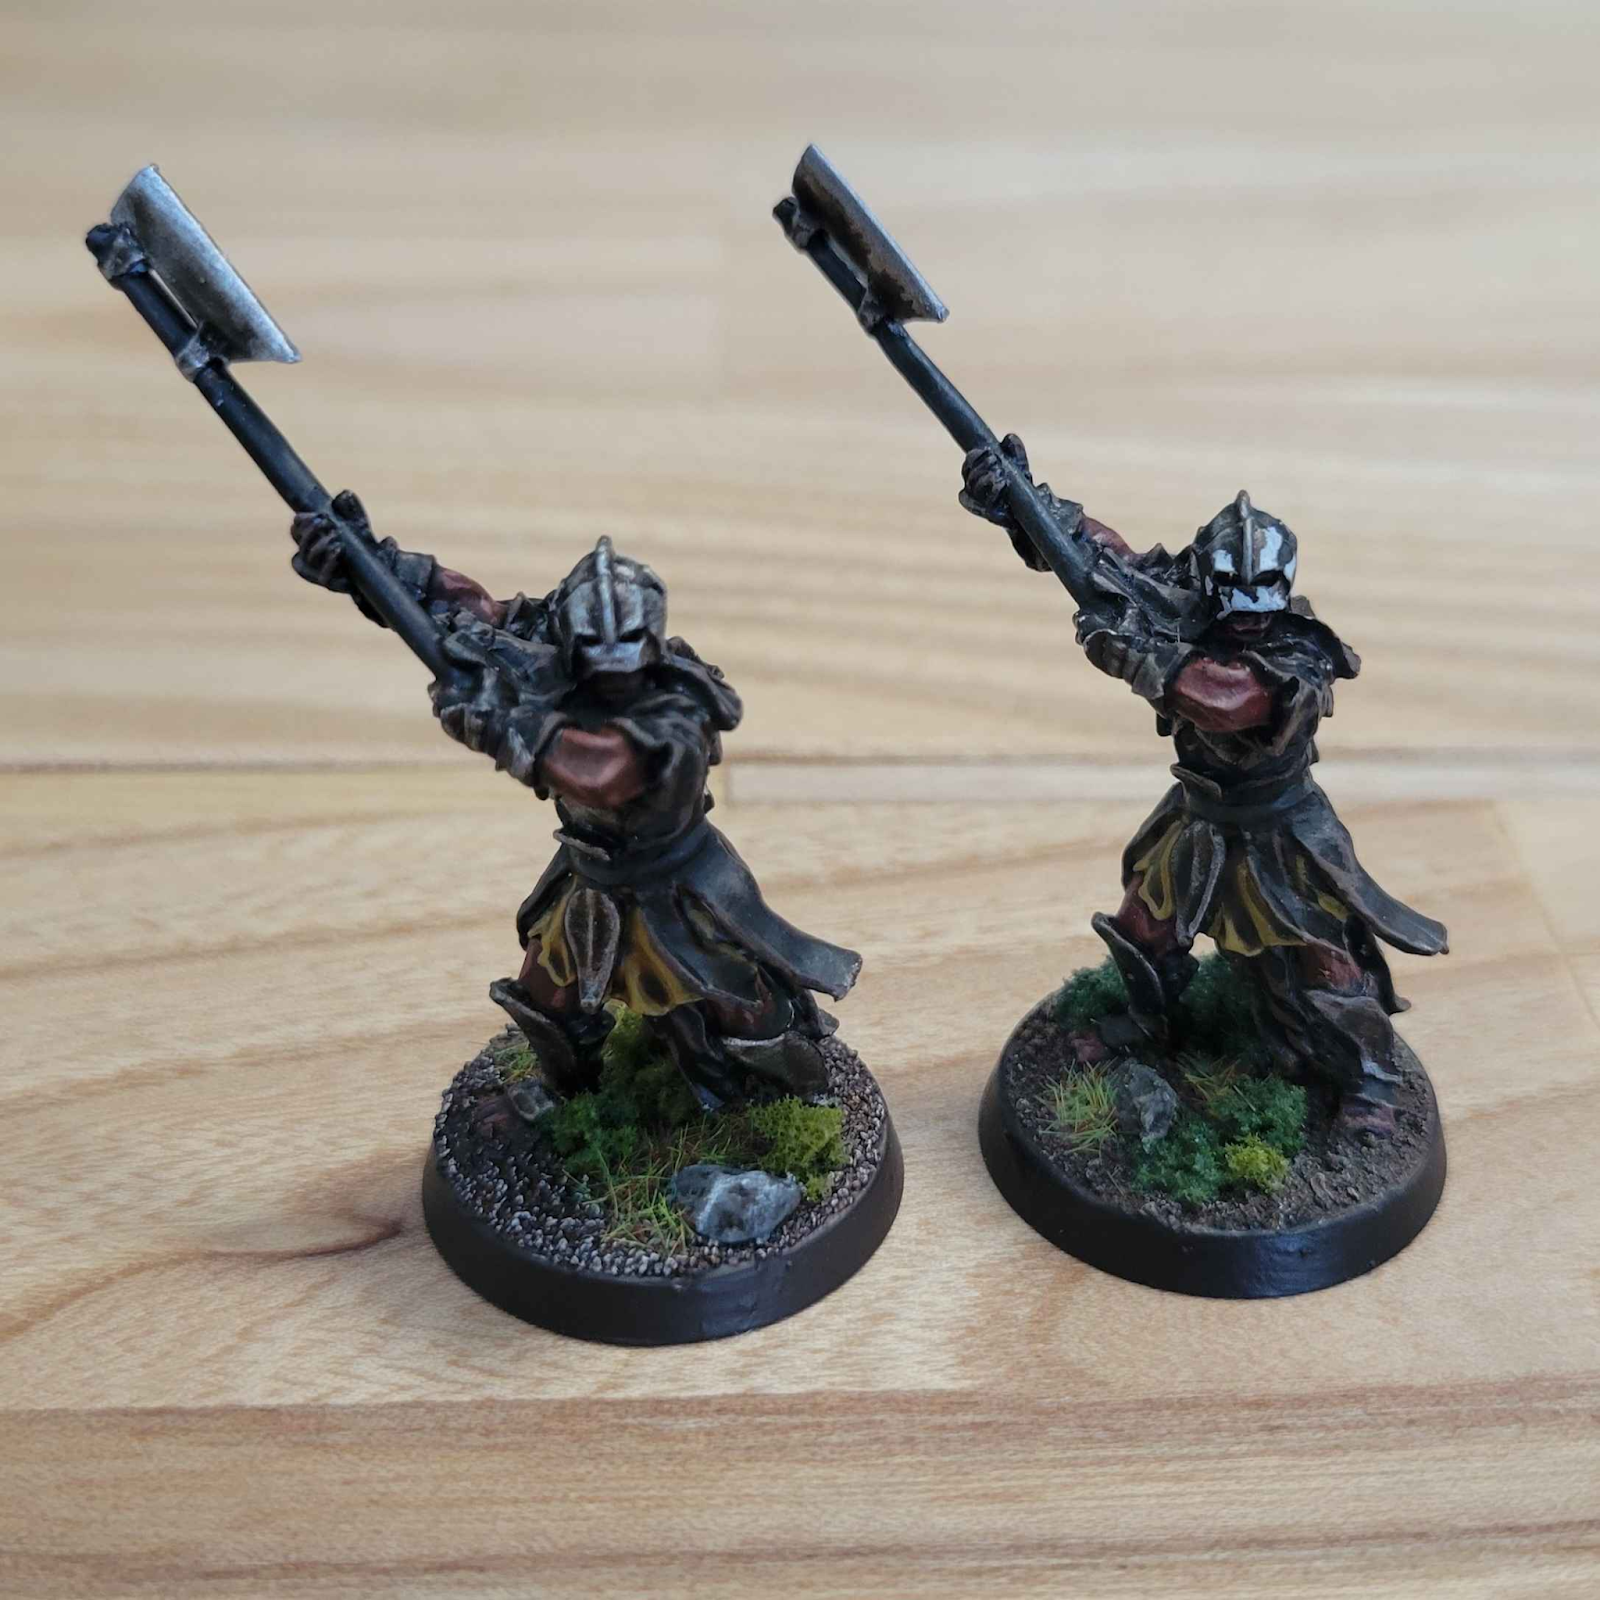
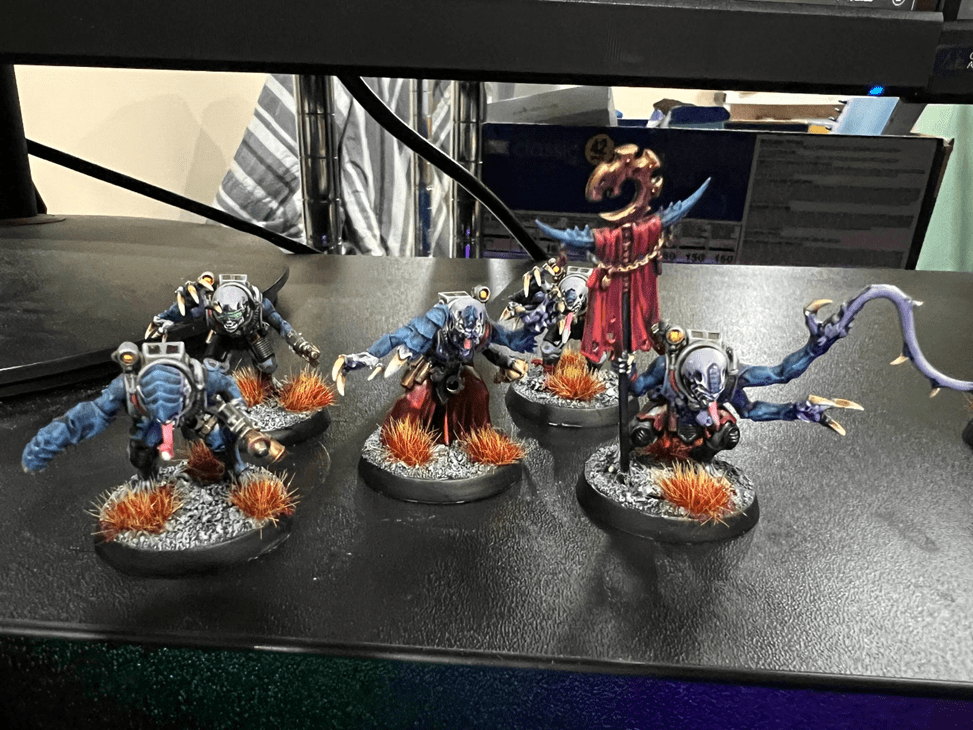
Now what was rather interesting about this project was actually returning to it. I had completed Ugluk’s Scouts back in 2018 or 2019, following (with some edits) a painting guide on the GW website at that time. With the relatively recent website change, that article disappeared! And so I had to go through the painstaking process of reworking what the paint scheme was to match. Though interestingly, I did figure I was able to trade out the basecoat + wash for the majority of the brown cloth in favor of the Cygor brown contrast paint, and it worked! The newer models are by no means an exact match, but they look close enough, especially at a distance. Here I have my two captains. The one on the left is new, while the one on the right is the one previously painted several years ago:
Atop the MESBG progress, I was also able to put some more work in on my ever-growing Shatterpoint collection, putting paint on both the newer Veers box and the Chiss Grand Admiral himself. While I have yet to finish the Snowtrooper Lieutenant (he’s on the painting desk, waiting to get done), I did get both Veers and his two Snowtroopers completed. I had a lot of fun with the Snowtroopers in particular, trying to work out two different colors of “white” to differentiate different bits of cloth.

With Thrawn completed, that polishes off his box in totality. I’ve posted his other box-mates before – the ISB and Agent Kallus – but here they are again, together! Hopefully the Veers box can join them shortly in the vastly increasing list of completed boxes for Shatterpoint.

After the Lieutenant, the plan is to return to the Rebels (and friends) I have remaining, especially with the newer releases about to hit in the coming months. I secured myself a full set of the Spectres wanted poster alt art order cards, so I do feel rather obligated to get the remainder of their members finished up now! And perhaps also polish off Lando’s box while I am at it.
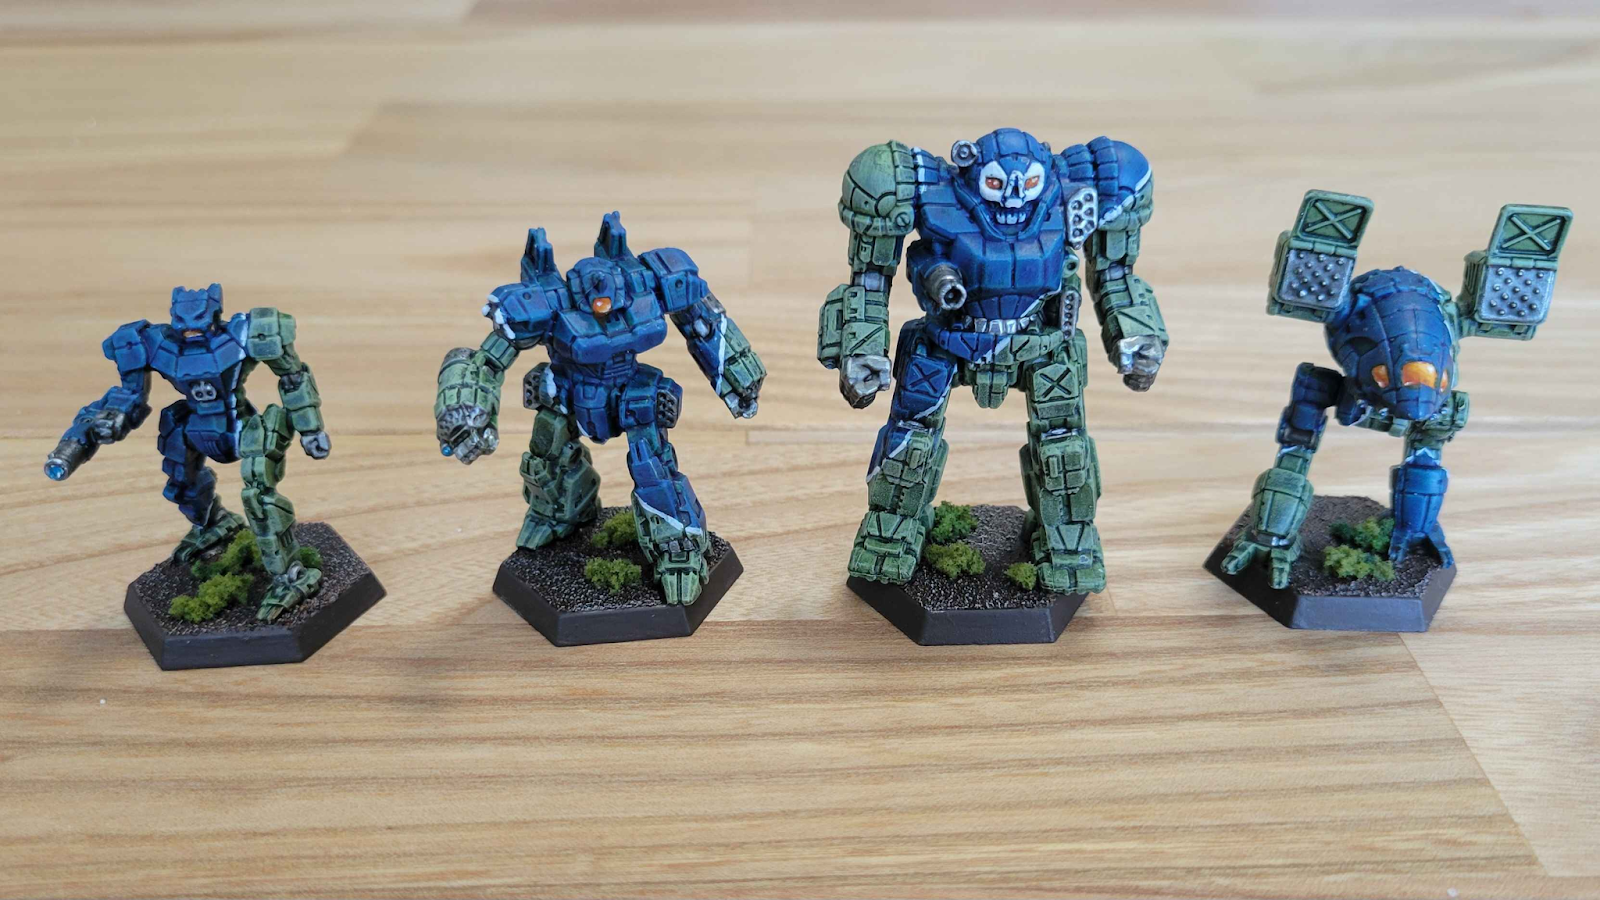
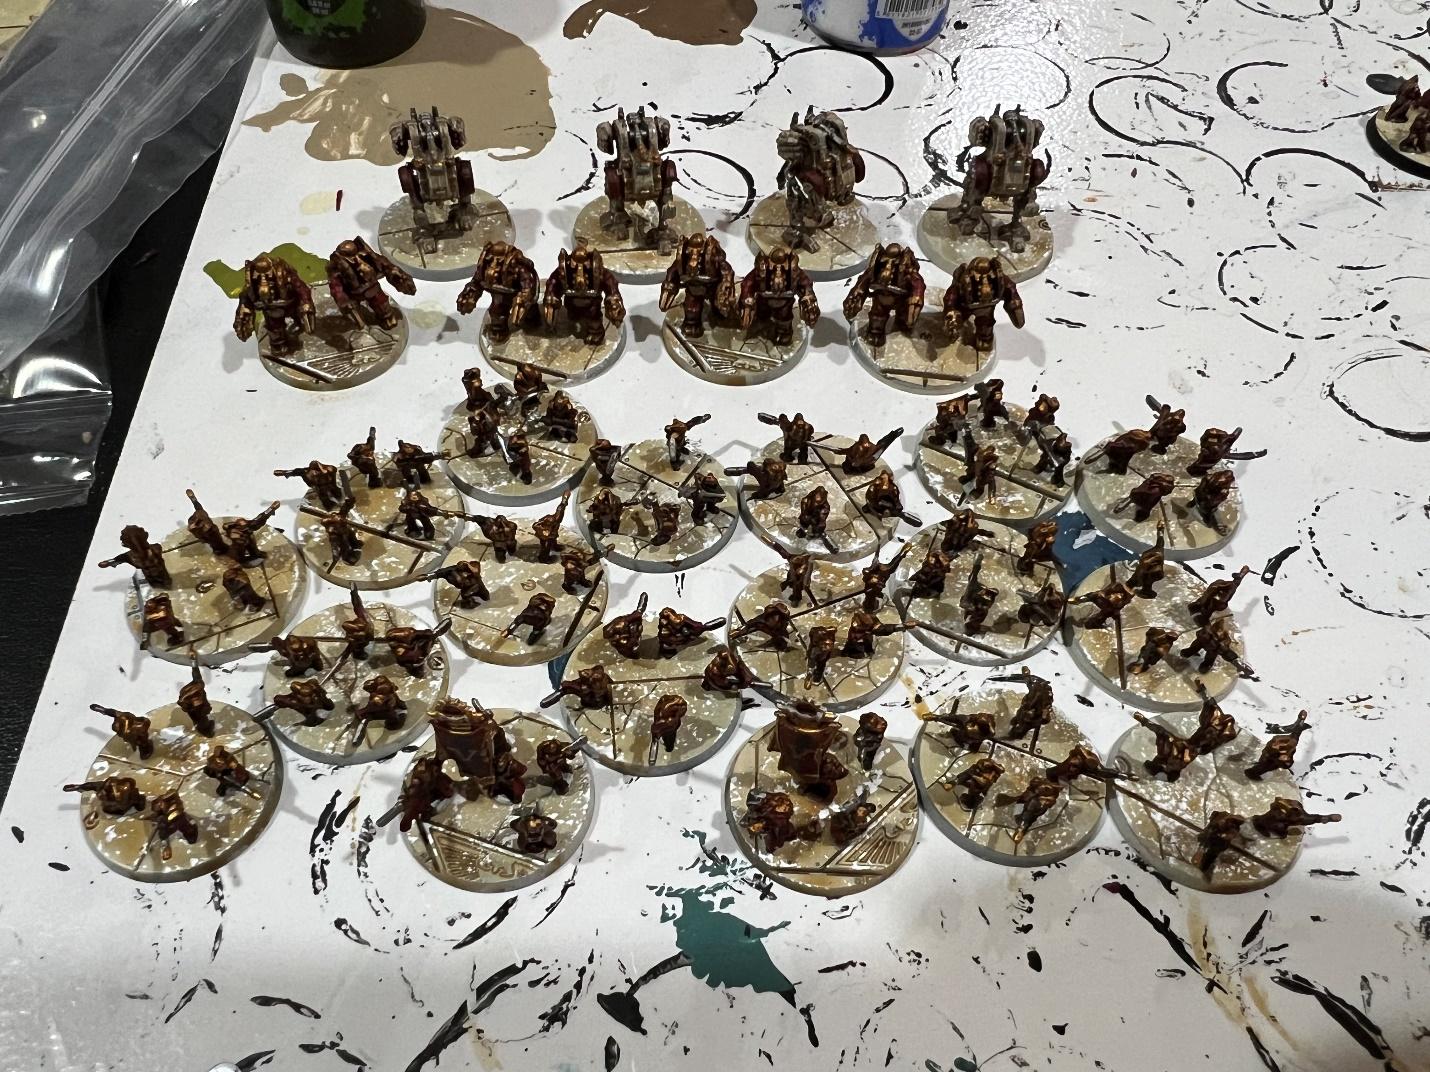
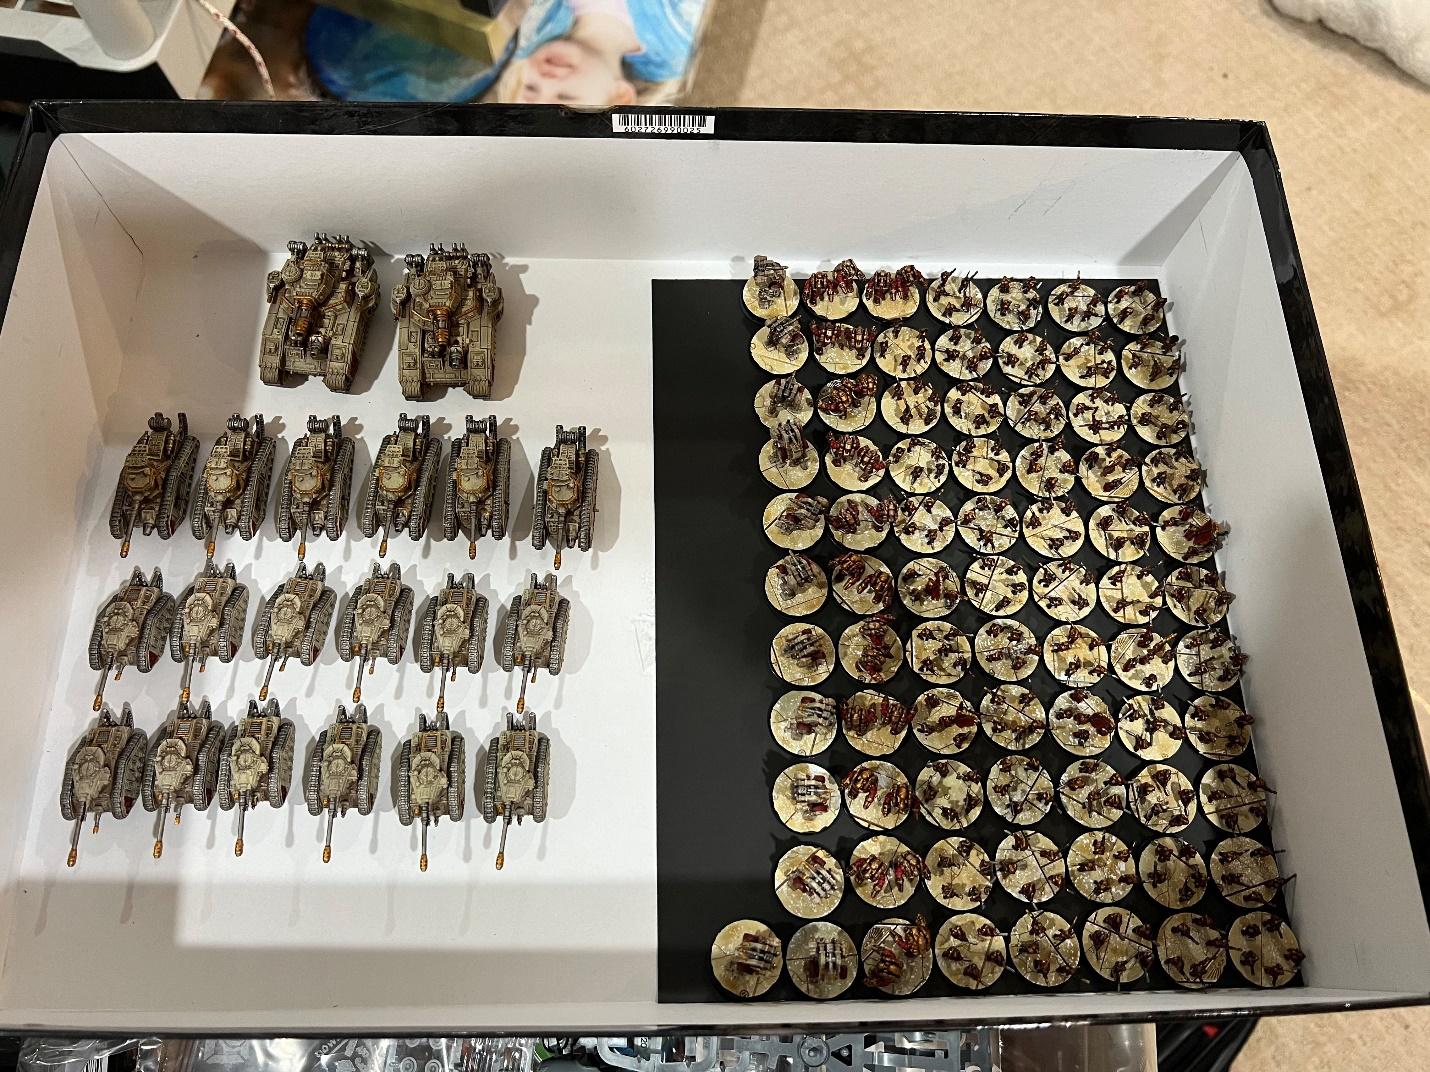
And now speaking of the same old things, I have taken another detour towards Battletech as a bit of a distraction, finishing some more models for one long-running project, and planning two (really three) new forces. Firstly, I completed another Lance of mechs for my 3rd Proserpina Hussars of the Draconis combine. I am not sure I have posted this force before here, so perhaps I will detail them in a later article. But it is a rather fun scheme to do. These four more Mechs join the 20 already finished in this color scheme, making for a nice even 24 for two full Companies. I am hoping to finish the full Battalion (40 mechs) here in the near-ish future!
Atop those, I did test models for two other forces I am going to be working on. The first is for the Scorpion Empire’s Omega Galaxy, and the second is for their competing element: the Hanseatic League’s Regional Defence Force 2. I know, what an inspiring name! But it is a fun little scheme with some influence from older German states – in this case, Bavaria. All of RDF 2’s mechs feature the diamond-checkered Bavarian flag on one of their arms. Meanwhile Omaga Galaxy’s tan and red provides are rather different-looking opponent.
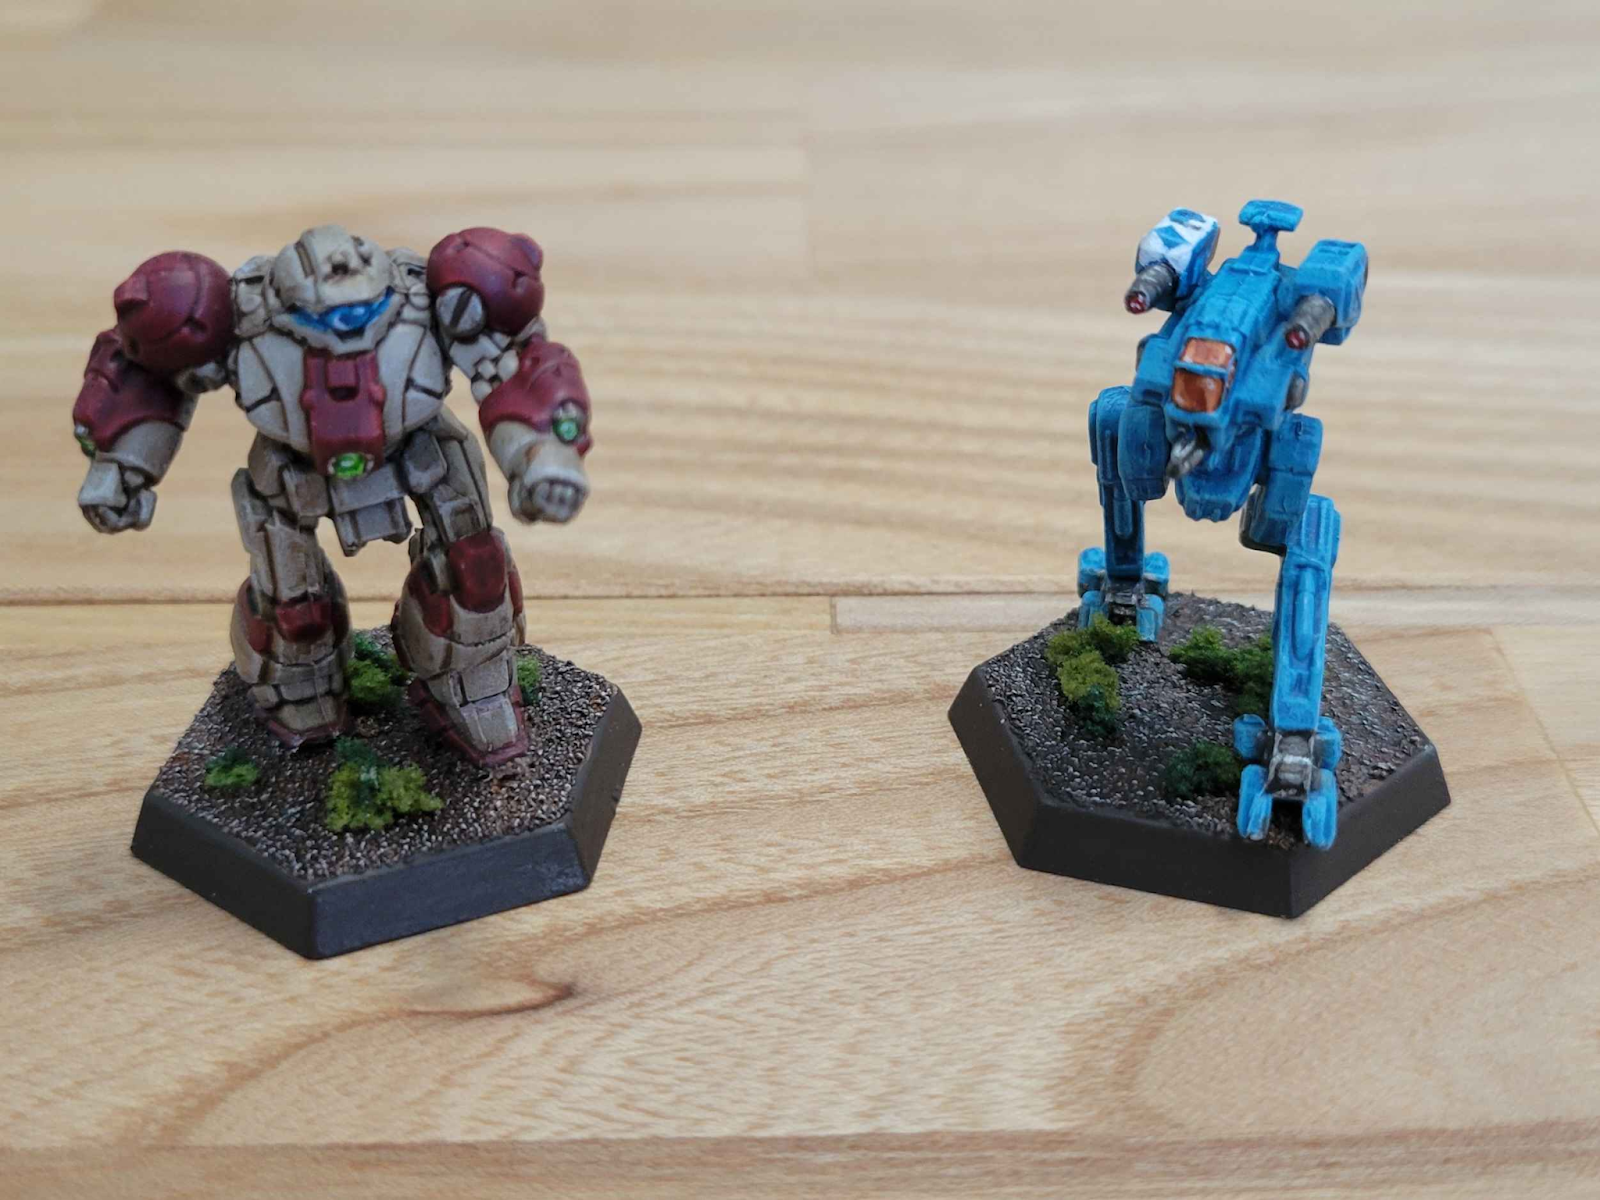
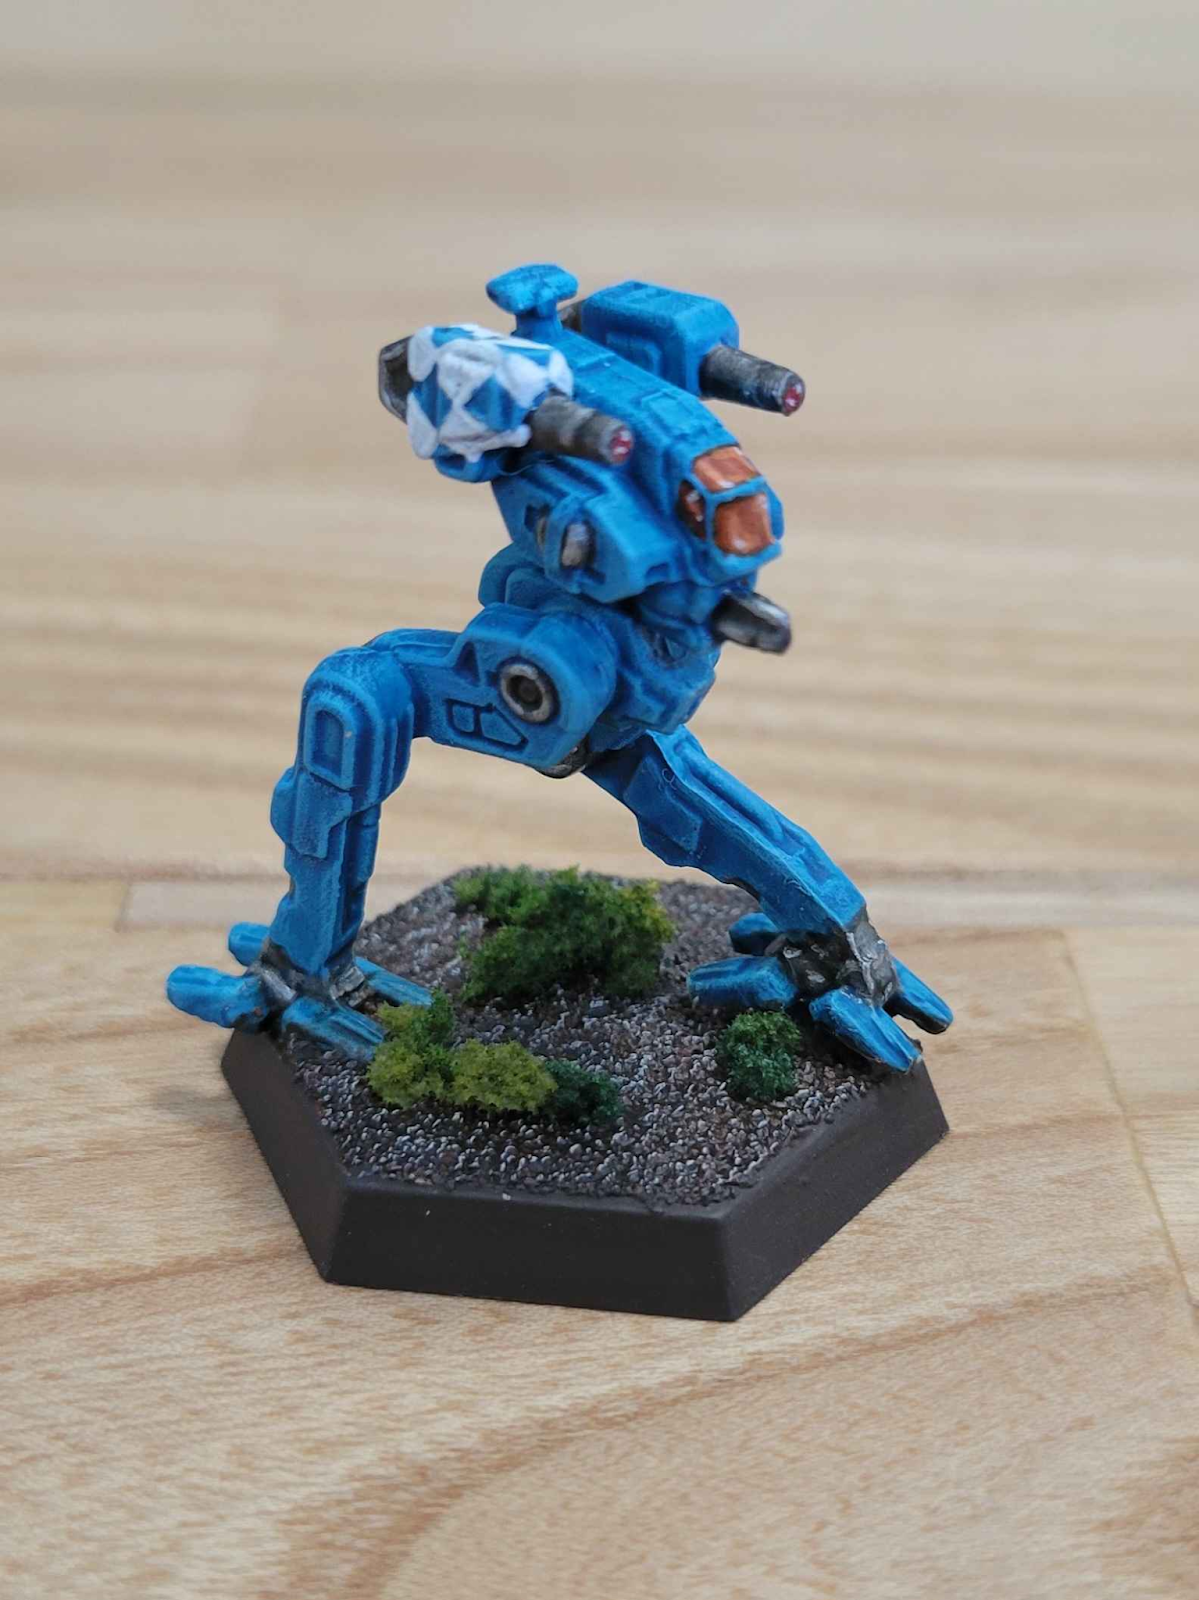
Plans for Omaga Galaxy are rather large. I already have a little over 30 mechs in my possession earmarked for them – including many IIC designs, plus some IS mechs fitted with clan-tech, and other second-line clan mechs.. Plans for RDF 2 are comparatively smaller. A “mere” 16 mechs. Though It is reasonably likely I’ll end up with more than that, when all is said and done.
This is all I have for now. I hope to have some more progress to show you all next month!
Joe R
The streak for 2025 certainly continues. Hmm… why would anyone desire a relaxing hobby and escapism in this day and age? Hard to say.
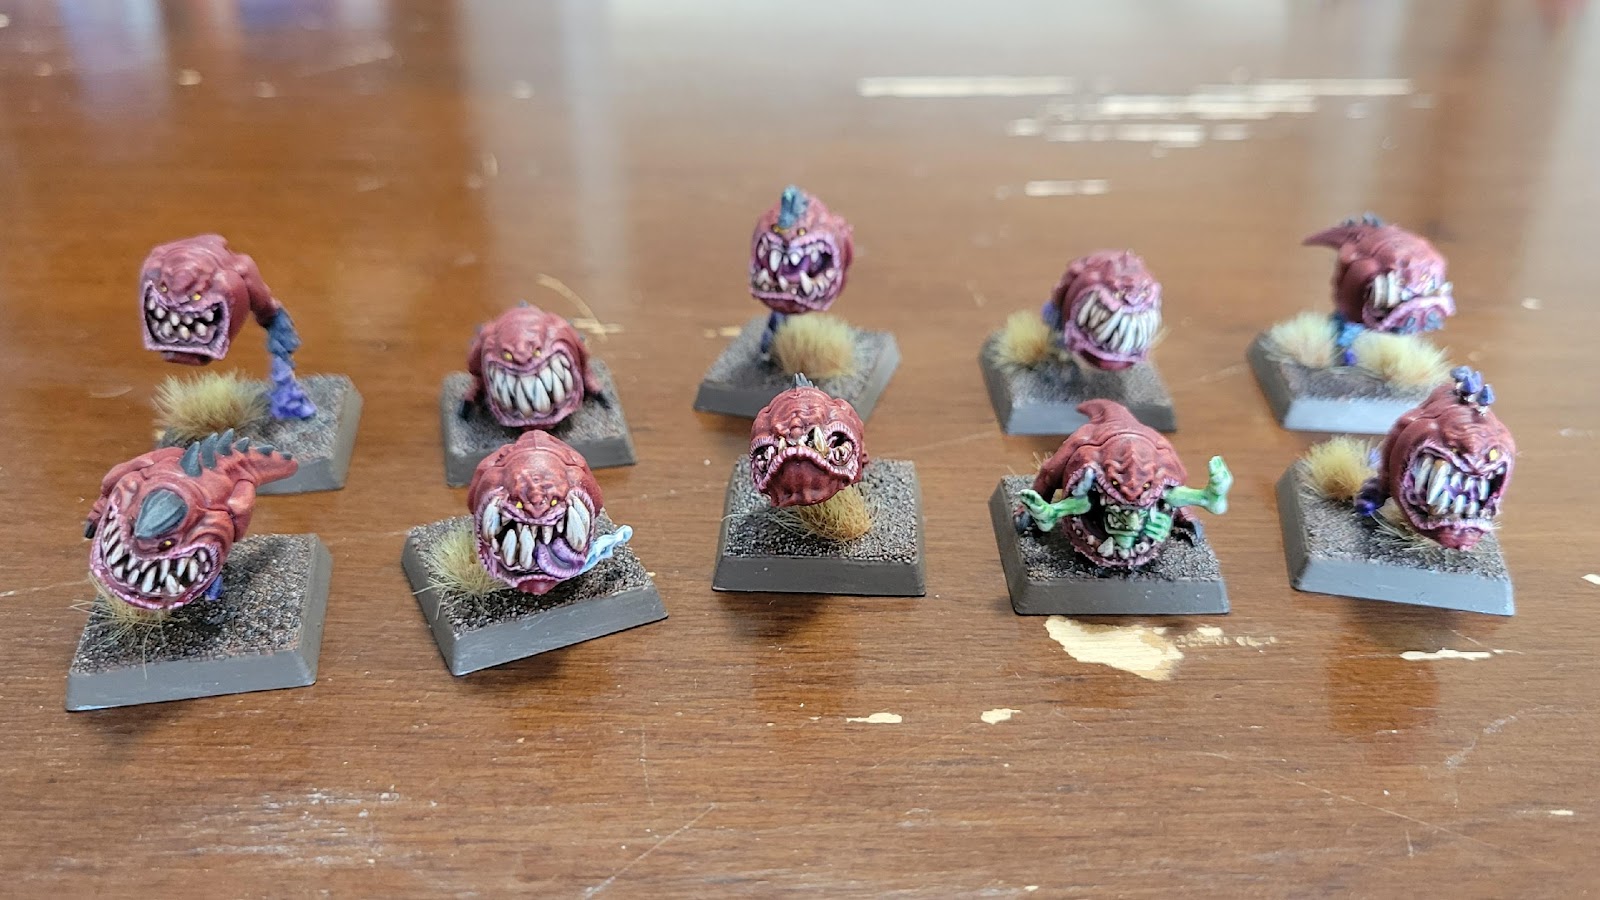
The Blood Bowl tournament scene is already in full swing in the Virginia area. We’ve already had three tournaments, but I have been unable to attend any so far. However, a crown jewel of our Blood Bowl scene is The Gritty Goblin Blood Bowl Games (often referred to as Gritty Goblin) which takes place at Gritty Goblin Games in Columbia Maryland. This is a Blood Bowl 7s event (which I still argue is the best way to ENJOY Blood Bowl) which has sold out every single year. I believe it sold out in less than a week this year. At this exact moment, assuming Jerry indulges me, I am planning to do a tournament recap. We’ll see if that happens. HOWEVER, the special sauce of this particular event is to complete actions with Goblins to gain goblin points. Whoever ends with the most goblin points earns the coveted Goblin Cup. I love the coaches that attend this event, I love that so many people play to the theme, I (mostly) love the organizer, and I enjoy the venue.
So, if you hadn’t guessed already, this month I have taken a short break away from Cowboys to focus on preparing a team of 8 Goblins + 1 Troll in about 3 weeks.
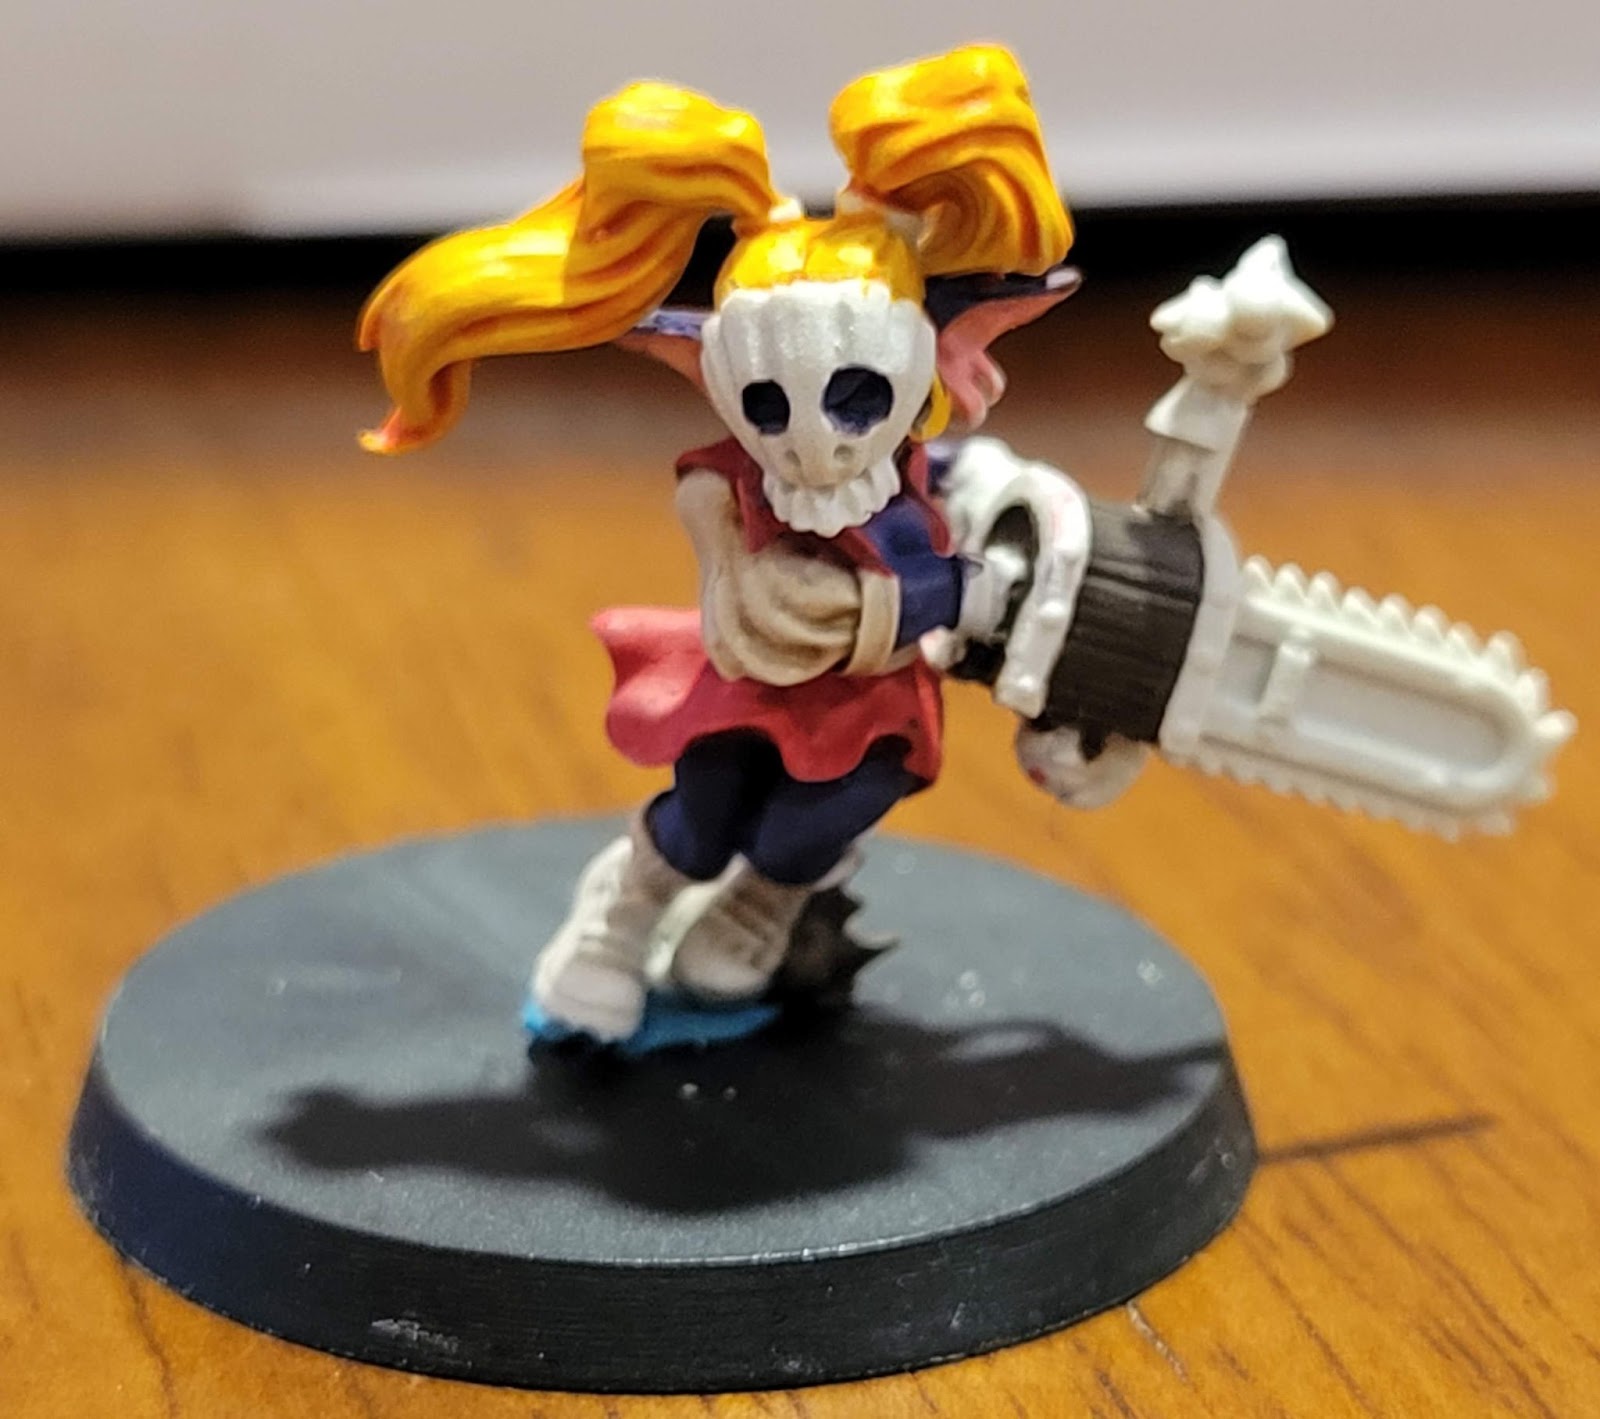
The Venison Beach Grindylow – Blood Bowl Goblin Team
While you, humble reader, probably weren’t desperate to know the details of how this team came to be… I’m gonna tell you anyway! Some people are called to play Goblins. I am not one of those people. In fact, Goblins are the only team I’ve ever quit mid-season. So obviously, I have two Goblin teams.
My first goblin team was part of the Star Bowl Indigogo from probably a decade ago. The team featured Star Wars Jawas as the Goblins, droids as the secret weapons, and Jawa-piloted robo-trolls. I call this team the Tatooine Technographers and they made an appearance at GGG ‘24. I don’t love this team. The sculpts are kinda funky and the pewter is garbage. The second is a pirate goblin team that I purchased from Big Child Creatives/Massive Dragon during their kickstarter a few years ago. STLs for these models were recently released, but I already had the whole team cast in resin. I actually had to go find the receipt for this team to determine what I had purchased in preparation for painting them. Always a good sign. This team had tentatively been named the Finneytown Foulers (after a Cincinnati suburb I used to live near) and were going to be colored Red/White. That has changed!
I had the exquisite pleasure of meeting fellow Blood Bowler, Seamoose, at the Amorical Cup last year. We had an amazing battle of the Halflings that might go down in history as one of the loudest Blood Bowl games on record. His team, the Venison Beach Surfing Birds, has lived rent-free in my mind ever since (Curse you Danny “Summer Lover” Zucchini!). When I failed to complete my own TMNT-themed comic-style Lizardman team for Chaos Cup, my friend Neil saved the day by offering his beach themed Sharks. I asked Seamoose if I could also have a team from Venison Beach. He agreed, and the Venison Beach Tidal Waves were born. One day I will paint my own version. The Surfing Birds and Tidal Waves faced off at Chaos Cup to crown the King of the Beach. This was the best match of Chaos Cup, hands down. I mean really, the Chaos Cup Championship pales in comparison to the King of the Beach.
That was quite the exposition dump. All that to say, the Finneytown Foulers have become the Venison Beach Grindylow. The main color is still red, but white has been relegated to an accent color.

In Pathfinder, grindylow are depicted with blue or aqua skin. I wanted to apply this to my goblins. After reading a few Reddit posts and watching a few videos about Tau skin I decided to try a contrast mix of 2:1:1 Medium:Tassalar Blue:Magos Purple. This was fine, but didn’t provide the “life” I was expecting. I may try this again by doing the Tassalar Blue first then applying full strength Magos (Update: I did this. Still didn’t like it). I had recently purchased the entire 6 paint series of Blue-Grey from the Army Painter Fanatic line and used this to highlight up from here. I largely tried to pick ideal highlight colors by eye. If the highlights became too stark, I would just glaze them back down. This generally worked well. I also tried starting with Vallejo’s Oxford Blue then highlighting up (my preferred method at the moment) and starting with Thunderous Blue and highlighting up. In both methods I used Magos Purple to “black line” the skin, which provided some purple “life” to the models.

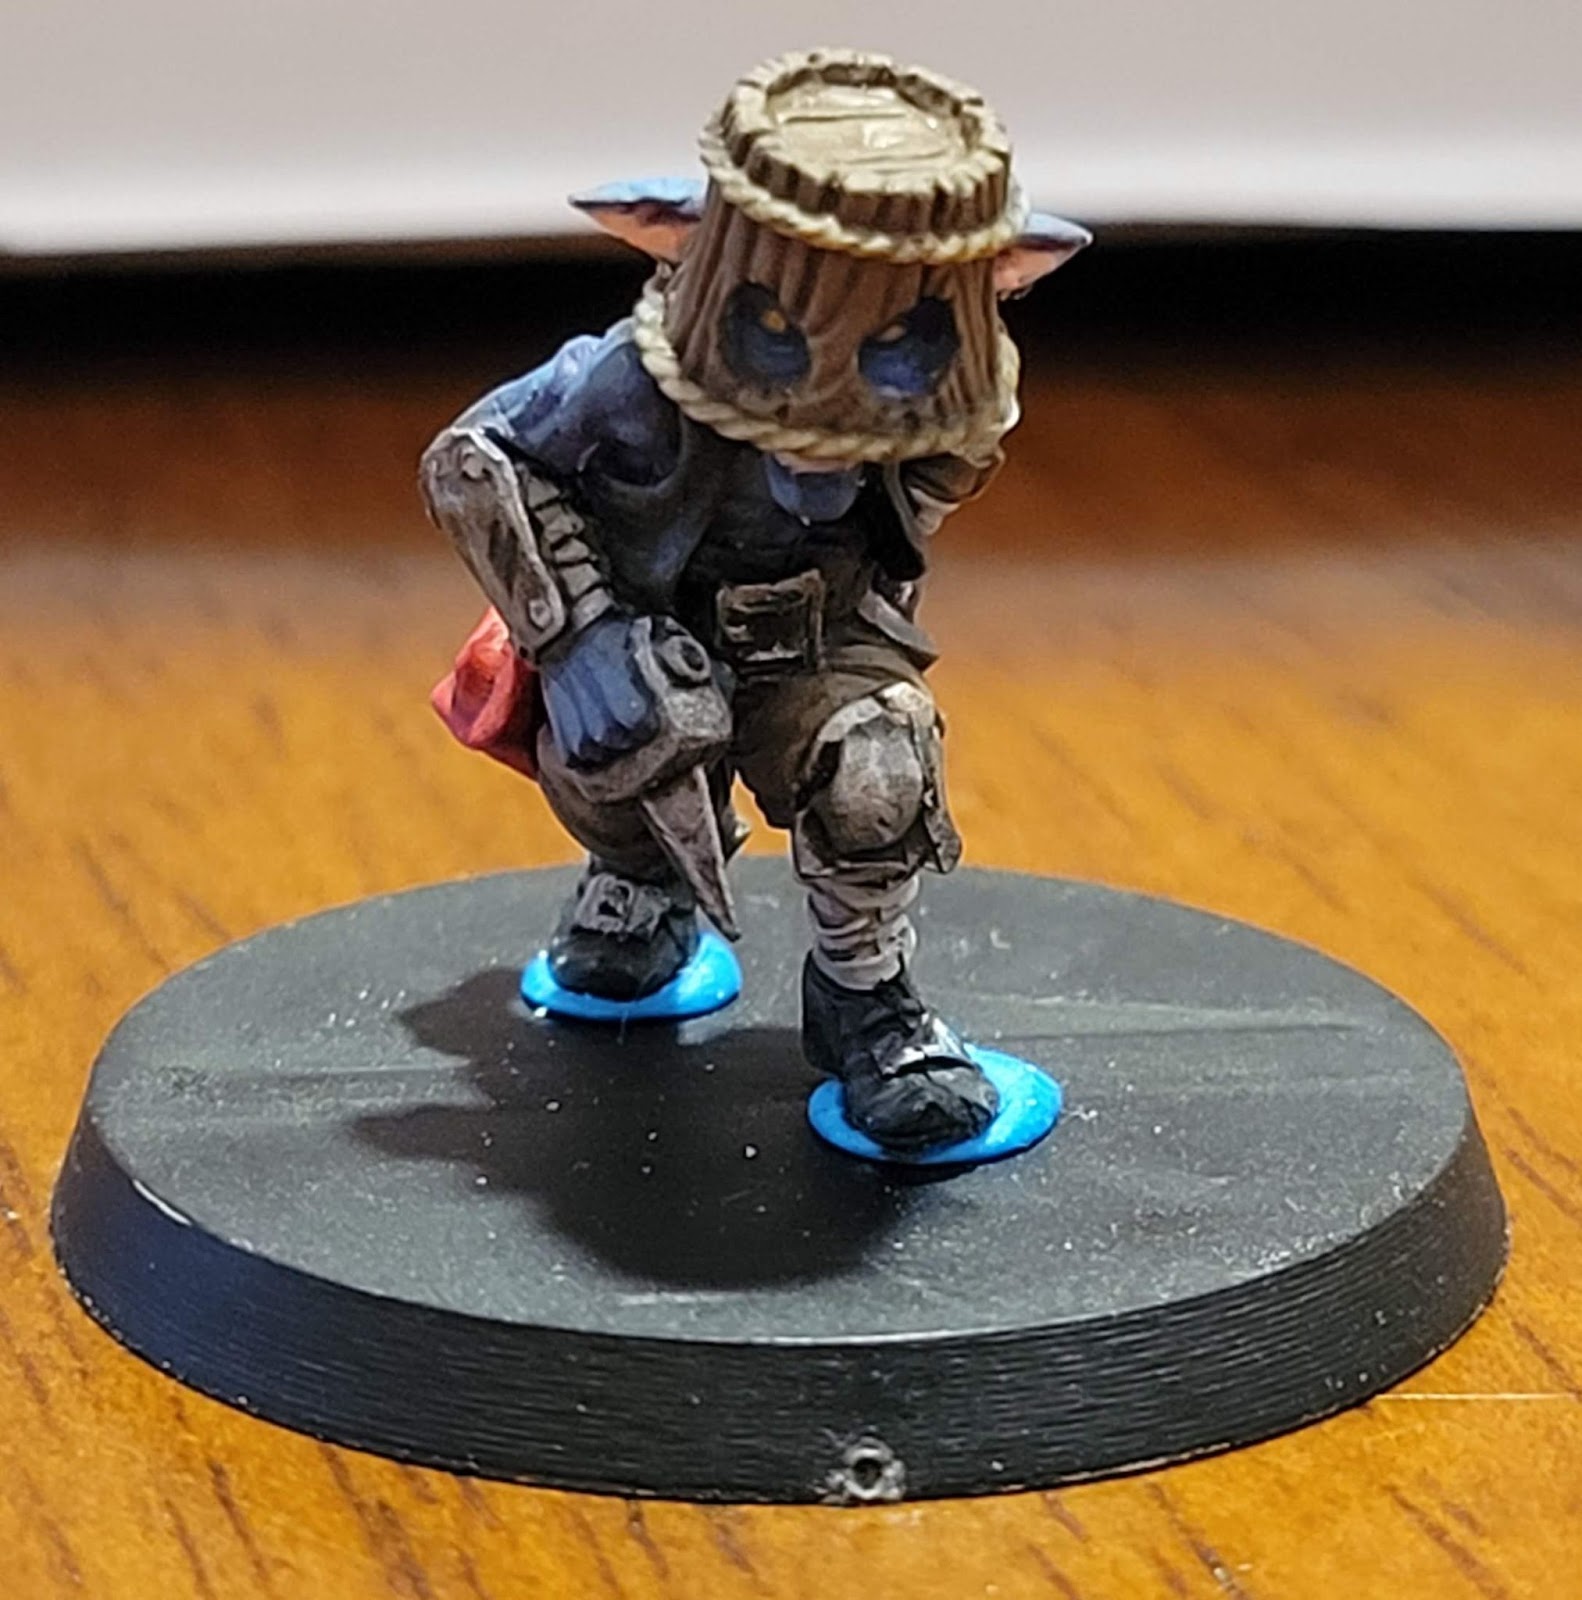


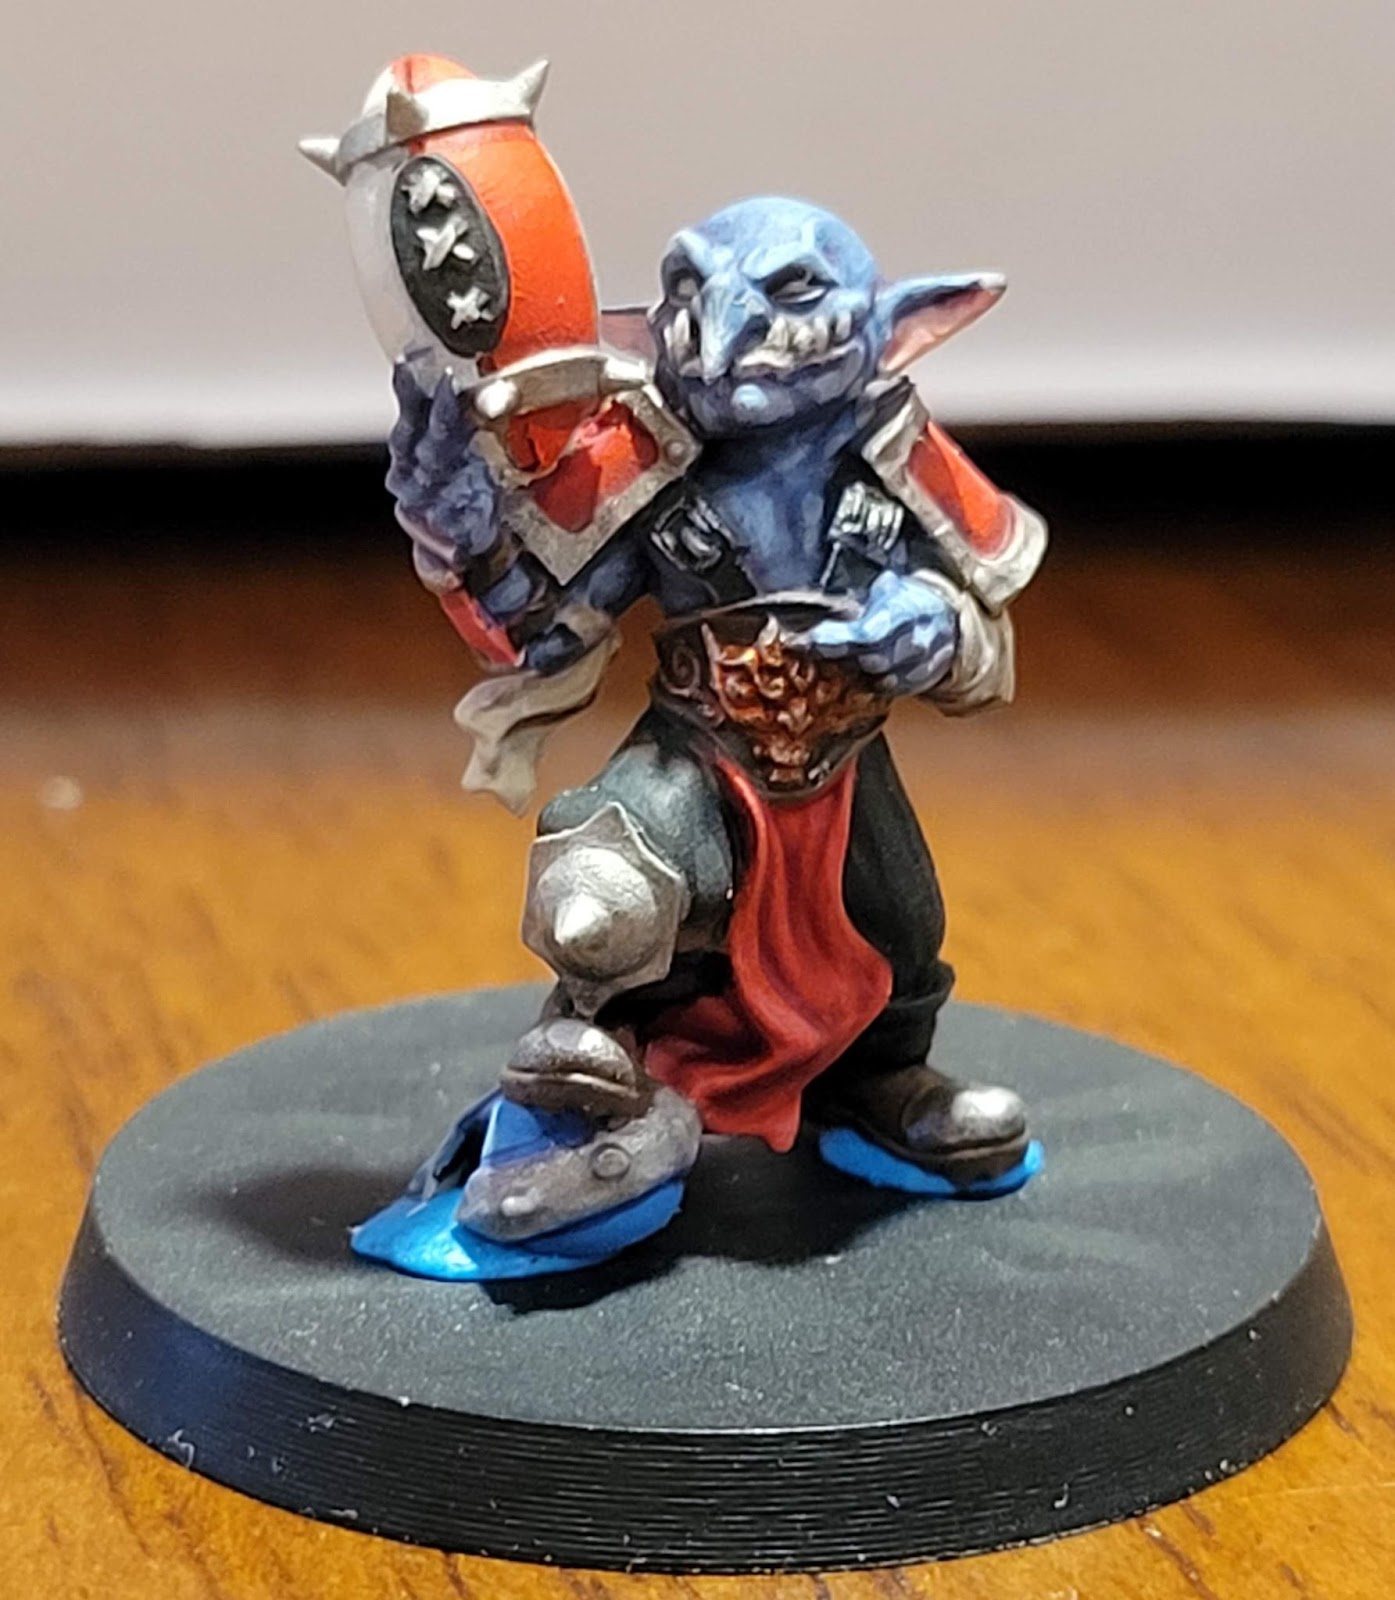
I also experimented heavily with reds. I also purchased the entire 6 paint series of Warm Reds from Army Painter Fanatic (I was tired of trying to make my Reaper reds & blues do what I wanted). Initially I started by highlighting up from a dark red to pink. This was fine… but it didn’t pop. Then I remembered reading Figopedia V1 where Jeremie talks about this specific problem. So I eventually ended up highlighting with a red/orange mix. I liked the result. I had also tried applying a contrast “wash” with 2:1 Medium:Flesh Tearers Red. This works great, but ultimately wasn’t needed later in the process. Now, I move from Basilisk Red, up to Flat Red, then my red/orange highlights.
I also tried out some freehand on my punk rock ‘Ooligan. I was extremely pleased with the results, even though it doesn’t really pop on the table. This was the first time I had decided to try a checkerboard, but I had watched videos in the past about how to apply it. Applying “Punk” over it was not planned, but I figured one freehand experience deserved another.


Overall, I was extremely pleased with these models. I worked diligently to finish a model before moving onto the next. As a result, I only made it through 6.5 of the necessary goblins (the chainsaw is only basecoated and my pogoer was a non-starter) and didn’t even get the shark-Troll primed. I also didn’t get any bases ready (as you can see!). I did 3D print some beach bases (thanks Neil!) but I haven’t primed or painted them.
I varnished the heck out of the completed models (and even did a layer on chainsaw to save my work). I used Vallejo Ultra Matte Varnish through my airbrush in a roughly 2:1 varnish:thinner ratio. It feels like you’re spraying magic dust on your models because you can’t really tell anything is happening. I am pleased to report that my models made it through 5 games and suffered zero battle damage. Huzzah!
The siren smell of gunsmoke is calling me back to my Old West minis, but I think I’m going to finish this team (including the troll) just to say that I completed this specific project (even though there are 9 other models to paint for a full Blood Bowl team). Besides, it would be really nice to put something in my display case that I can officially classify as done.
The Contrast Paint Dropper Bottle Project
As mentioned last month, I have been using contrast paints again. I was inspired by these Warhammer Community articles (here and here) to revisit what I can make them do. However, getting the recipes consistent has always been a challenge due to the paint pots. So this month I decided to buy fifty 20 mL vials, some ball bearings, and 12 tiny funnels to transfer all of my contrast paints into dropper bottles.
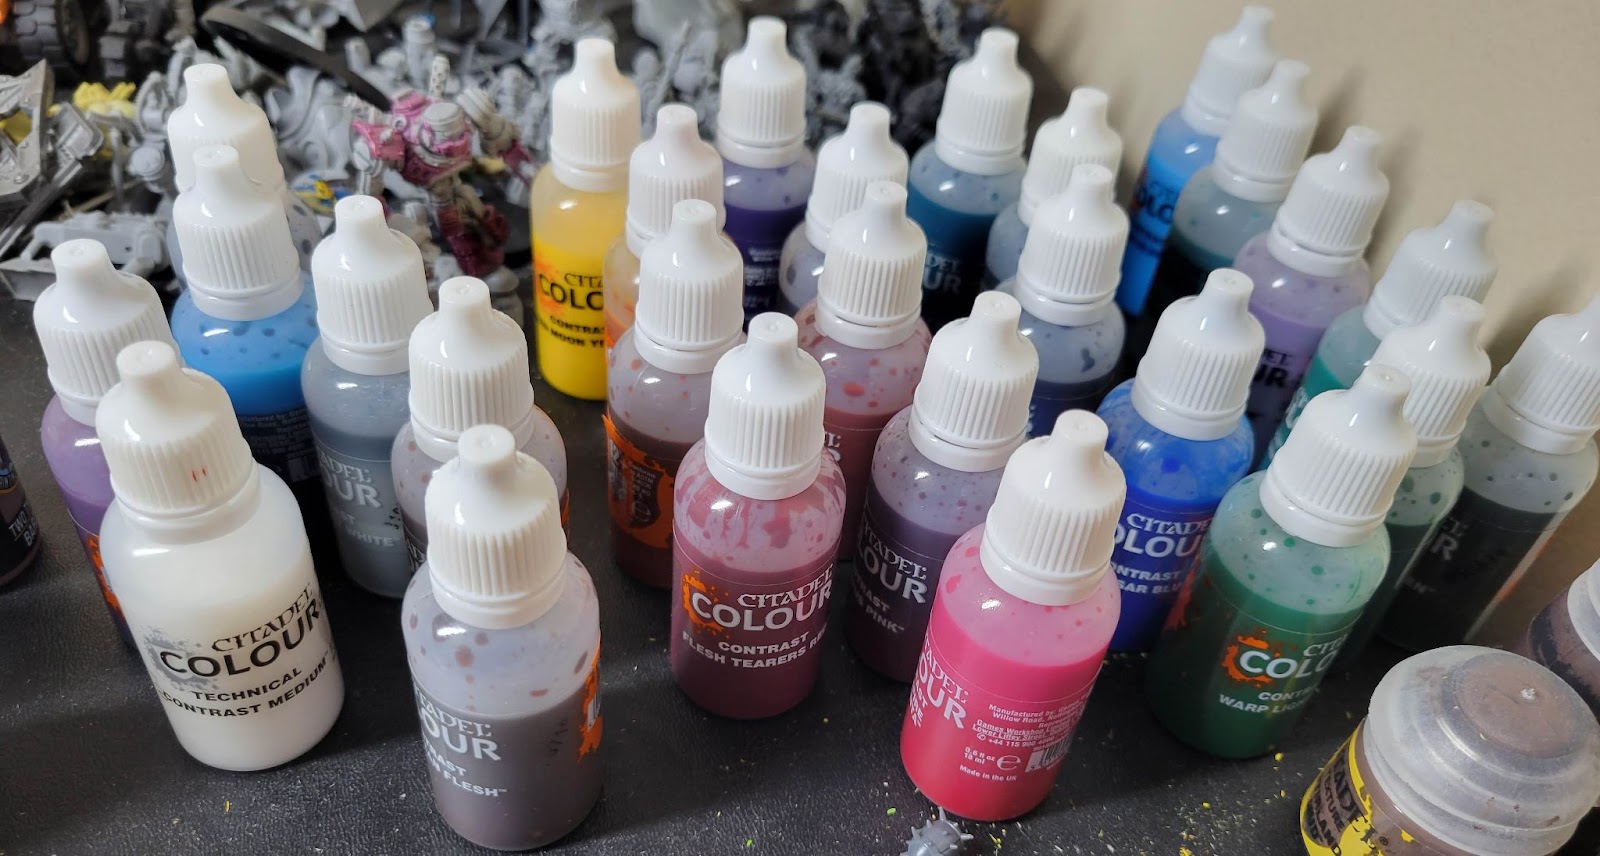
I didn’t realize how many contrast paints I had. Several came directly from the first formulation of these paints. I would casually transfer 6 or so bottles a night, clean the funnels (the contrast paints will leave a film! That’s their thing!), and transfer the labels. Overall, the process took about 2 weeks. My daughter even helped with a few. I think it was worth the added time and effort. The dropper bottles are much easier to mix (I’m looking at you Apothecary White!) and control.
After working on the Goblins, I definitely prefer the layering approach to painting. That said, since my paints are so old, I’m not sure they are performing at their optimal level. I’ve been finding ways to use the paints to help with specific problems instead of using them as an “easy button” to finish quickly. As other folks have noted, they do provide a great foundation for a base coat (provided you can avoid touching it too much!). I will continue to experiment using the Old West models, but I have found myself repainting many areas that started as contrast.
Well that’s it folks! Hopefully next month I will show you a completed and based Blood Bowl 7s goblin team. Then I can get back to these horse bios (as my wife has taken to calling them).
Kevin C.
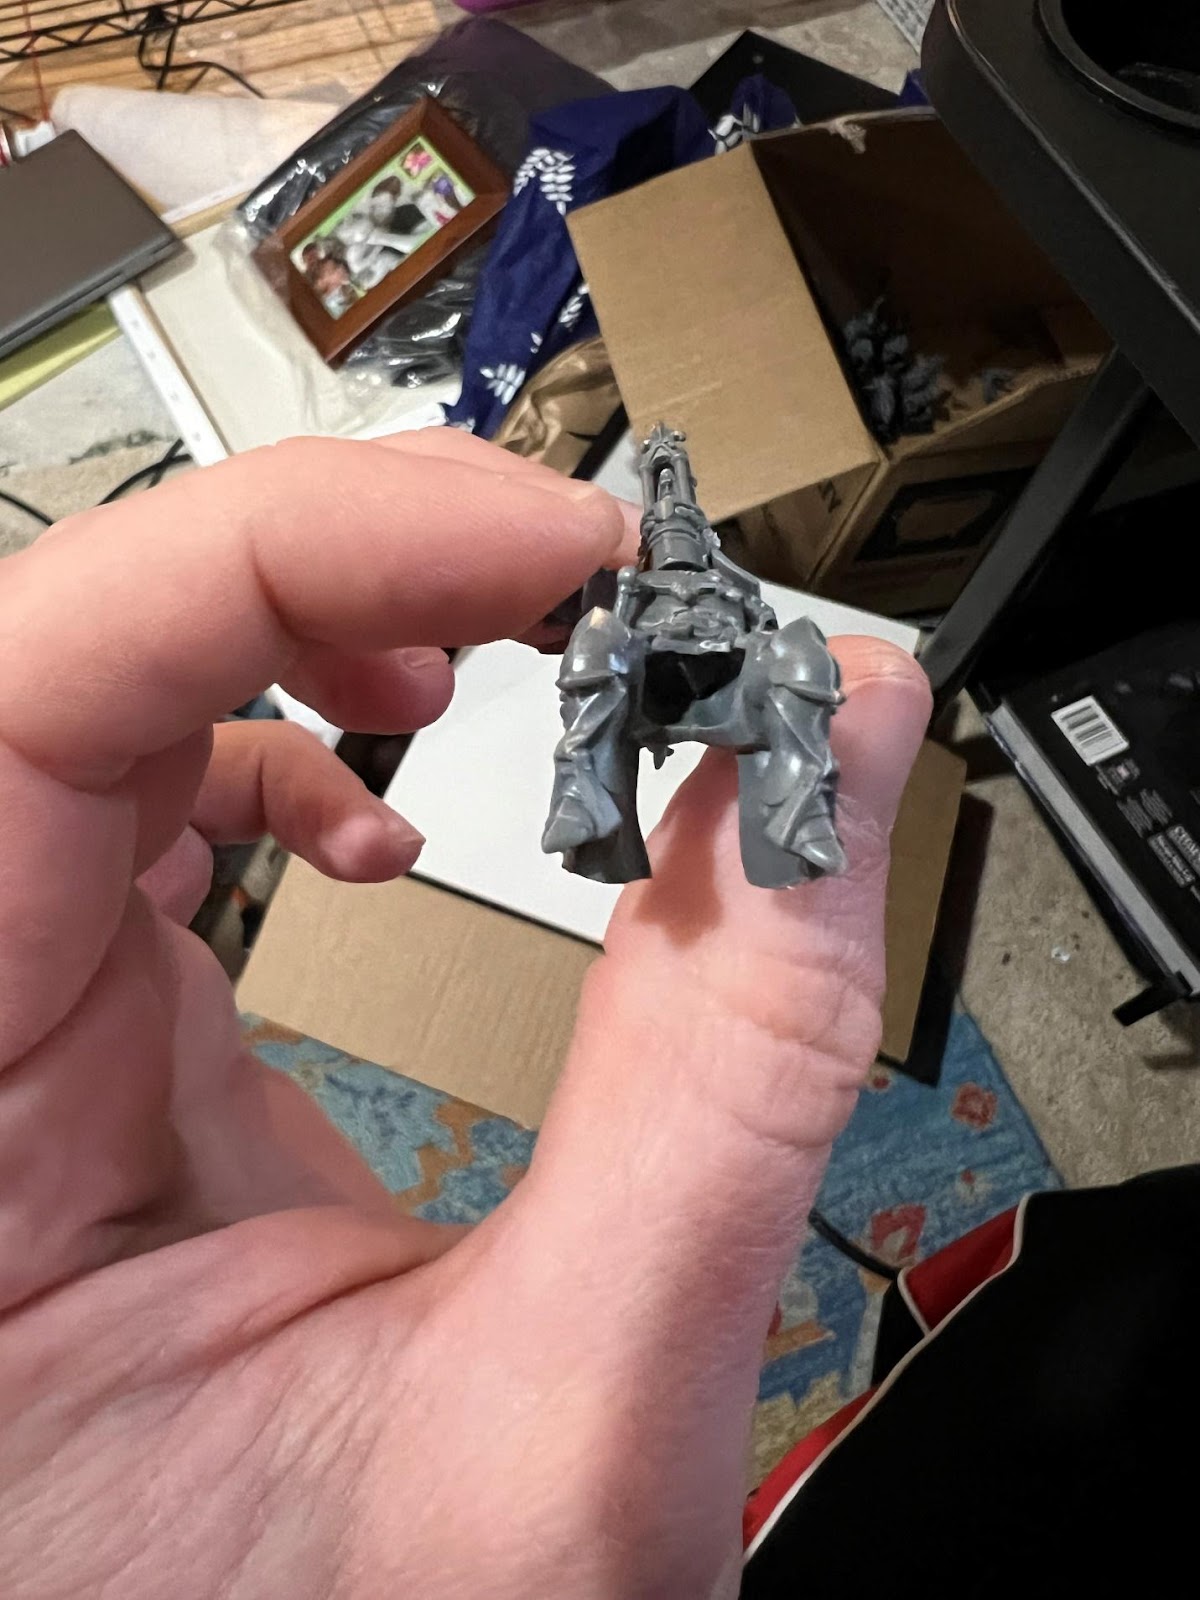
Genestealer Cult
As I posted last month, I assembled a Genestealer Cult Combat Patrol Box at the end of last month. I have never done Genestealer or Tyranids, so this was an interesting departure from my usual paint schemes, with lots of grey and purple.
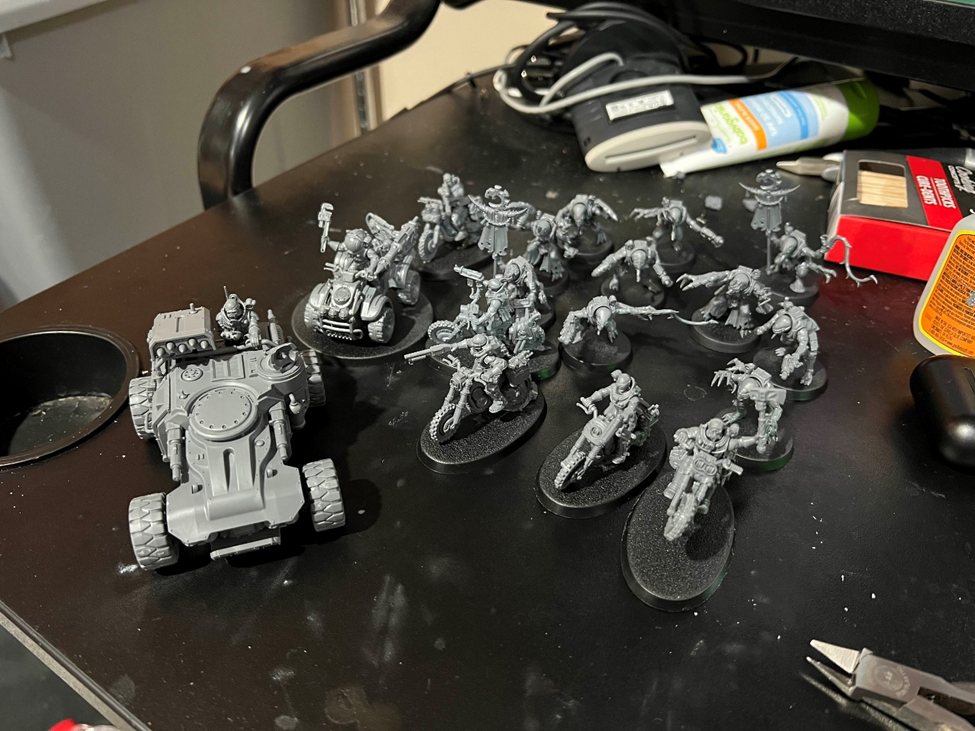
It turns out that the reason I built and painted these miniatures, to use in our Necromunda campaign while one of my other gaming buddies used my Orlocks, ended up being moot – the friend in question has chosen not to participate, along my Red Belts to ride again into the Ash Wastes! That being said, the miniatures were assembled and ready, so I figured I should get them painted and done.
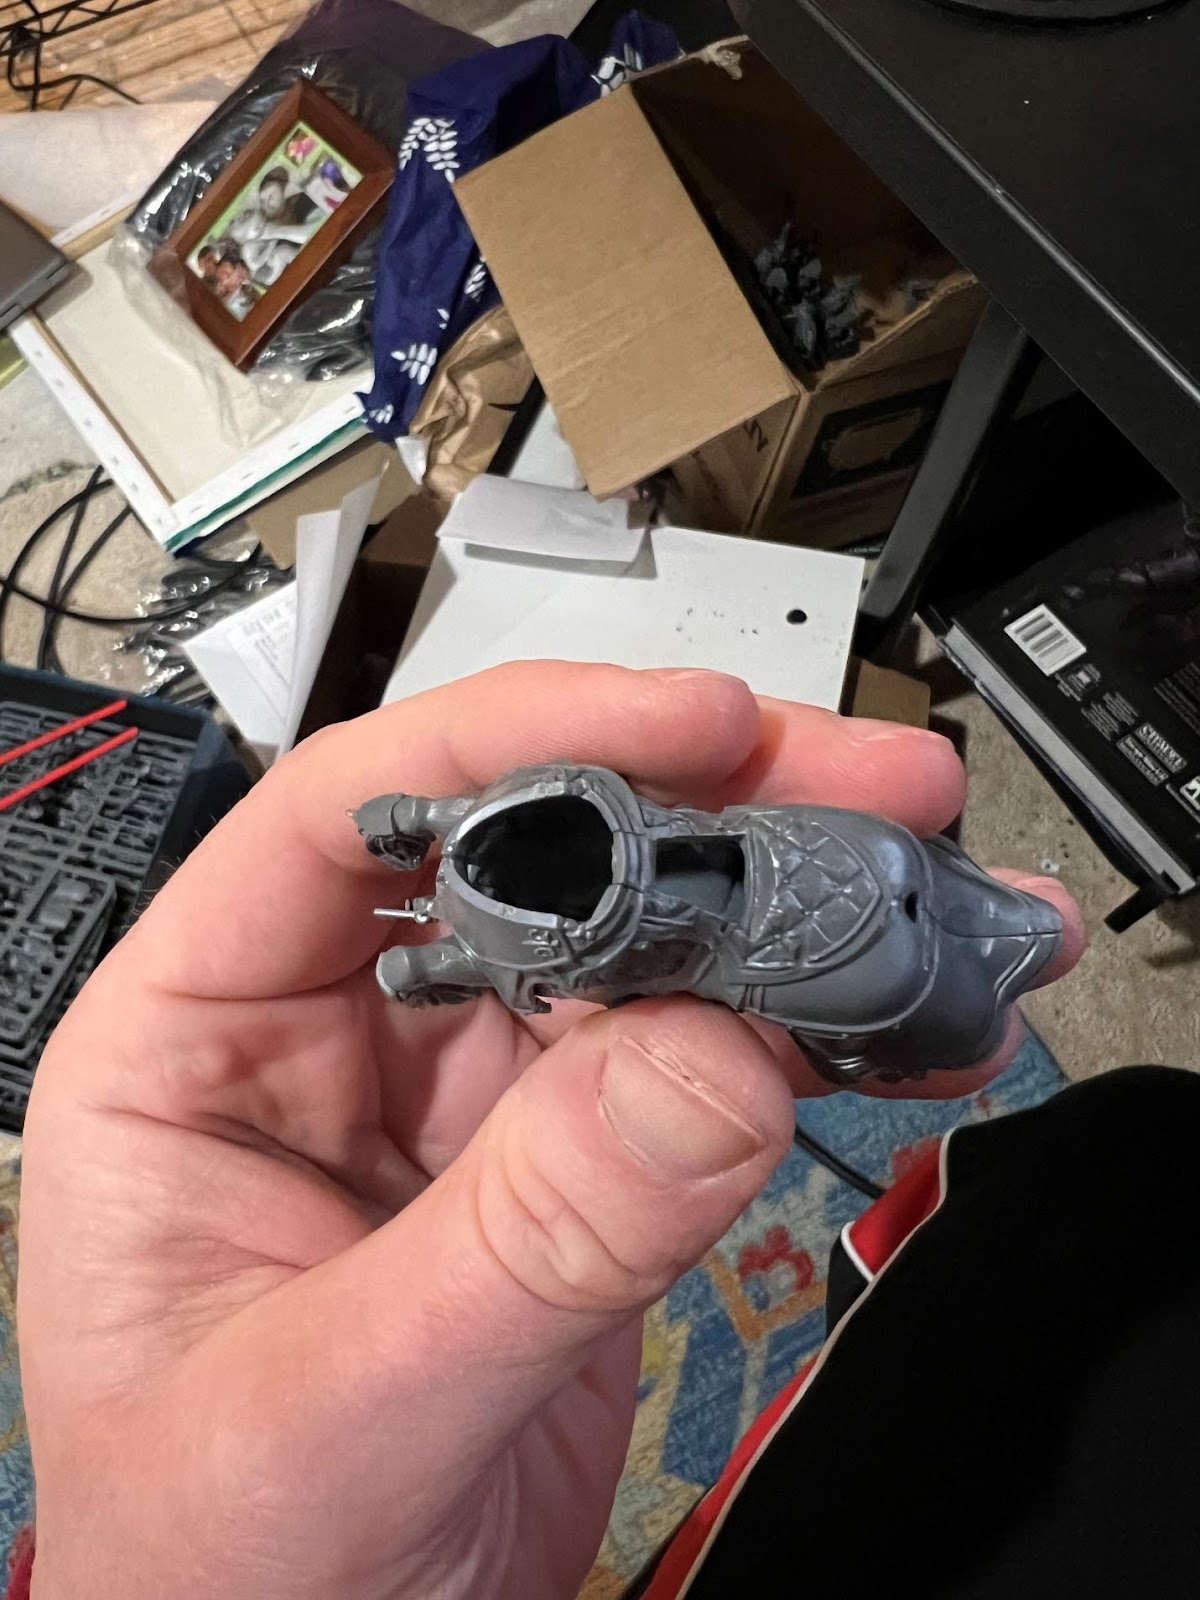
Vehicles
I realized early on that I did not have much experience with painting actual vehicles, aside from my Titans for Legions Imperialis. I chose to follow the tutorial Duncan Rhodes had posted all those years ago for painting the Atalan Jackals (https://youtu.be/pdUS0F8BJ3c?si=aMUDgLIZKdtpcRpn). It ended up being a great tutorial, and I was pleased with the result.
I ended up getting sick in the second week of this month, so it took me a while to get to the remaining Jackals. I eventually finished them, although not quite at the same quality as the first Jackal, using the same paint scheme as the first one.

Finally, I attempted to copy this same paint scheme to the larger two vehicles. These were somewhat draining, as painting large models tend to be. However, I did get some good experience with trying out some drybrush techniques that I plan to use on my Deathwatch later this year, especially the large vehicles.
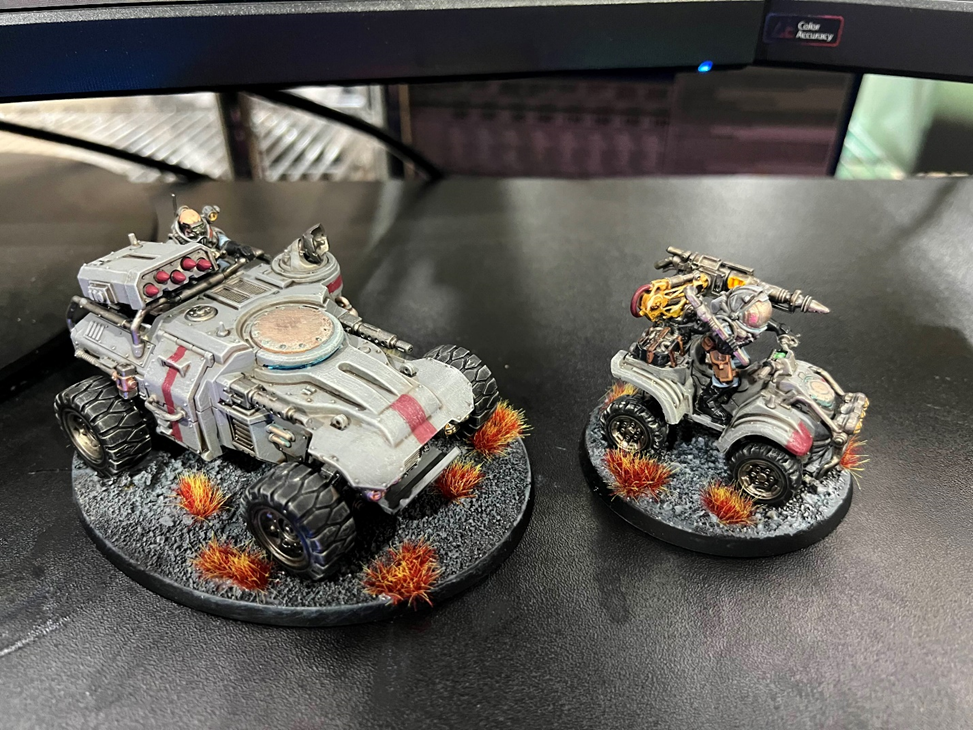
I am reasonably pleased with how the driver’s helmet plate ended up working (Balthazar Gold → Agrax Earthshade → Sycorax Bronze → watered down Nihilakh Oxide). I plan on using that same technique on my Votann Scavengers, who all have helmets down. I find that personally more realistic.

Showing this to the group, they made the perfectly legitimate observation that the vehicle color is a bit too close to the Ash Waste base. I was hoping the flame tufts would have helped to offset this closeness in color, but it did not quite achieve the effect I was looking for. Still, with the vehicles done, I moved onto the Acolytes.
Acolytes
These guys were far more alien than what I have usually painted, so it was a nice new experiment. That being said, I kind of rushed through this paint scheme, as I only had five days to paint these guys to get them done by the end of the month. Also, work has been kicking my butt this week (I’m writing this during my lunch break).
I ended up using the paint tutorial provided again by the great Duncan Rhodes (https://youtu.be/AWHtci5sSl4?si=awWAWFRnTPq68dRp), although I am not sure I am entirely pleased with the results. I feel like the color contrasts, especially on the face, were too stark (Slaanesh Grey → Pallid Wych Flesh), and I probably should have added a mixture first before the final highlight.

I tried using a smaller method of drybrushing for the blue armor scales, and I am pretty pleased with the results. It certainly made painting the armor scales a lot quicker.

Up Next
For my March project, I plan on continuing (?) with Necromunda miniatures. About a year ago, I received some Cawdor Redemptionists for a birthday present. At about the same time, I exchanged my Ash Waste Nomads with Austin for his old Cawdor miniatures. Apparently, it was a project that he was unwilling to finish. Heaven knows I have a ton of those.

So, I will be working to get this gang up to tabletop quality by the end of this month. I won’t be playing these guys in the new Ash Wastes campaign that we have planned, but I’d like to have this on the backburner for future use.
Until next month!
Jerry S.
Hello readers! Long time, no talk! I am sorry to have missed last month’s post but the start to this year has left a lot to be desired on the hobby front. I’ve painted a couple one-off characters but I’ve been struggling to really make any serious progress with any of my hobby projects. I’m hoping to turn the tide in March and really show some serious progress, but more on that later!
Starting with what I have accomplished so far this year, I’ve got a fun smattering of models to show you below
The Old West
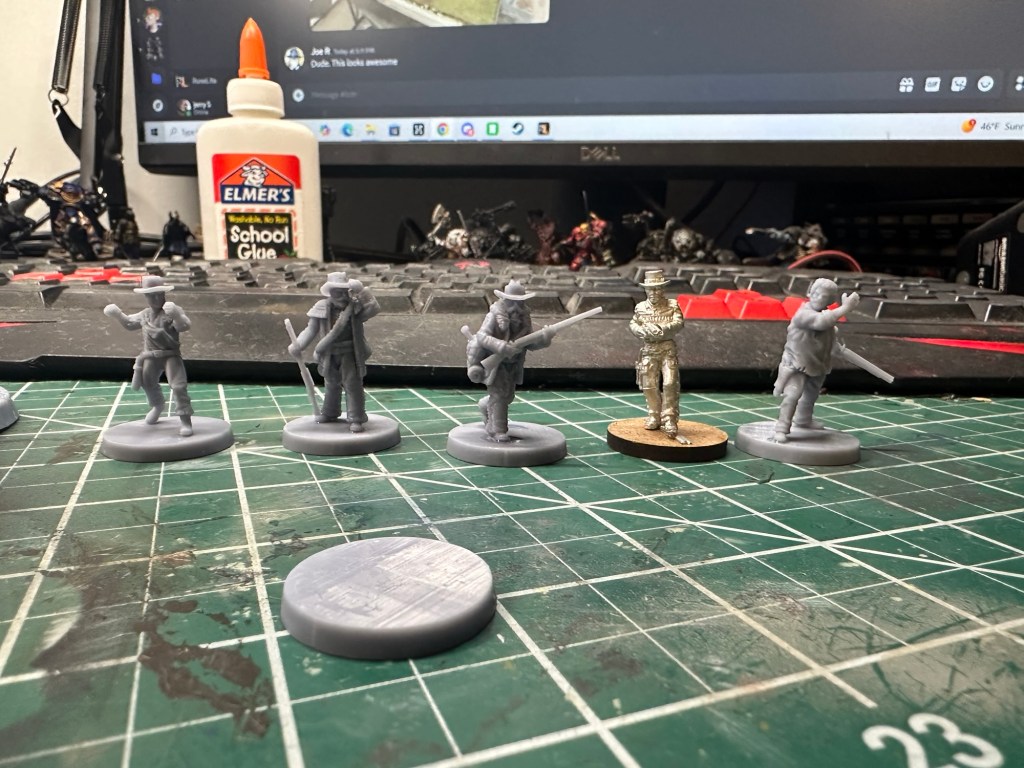
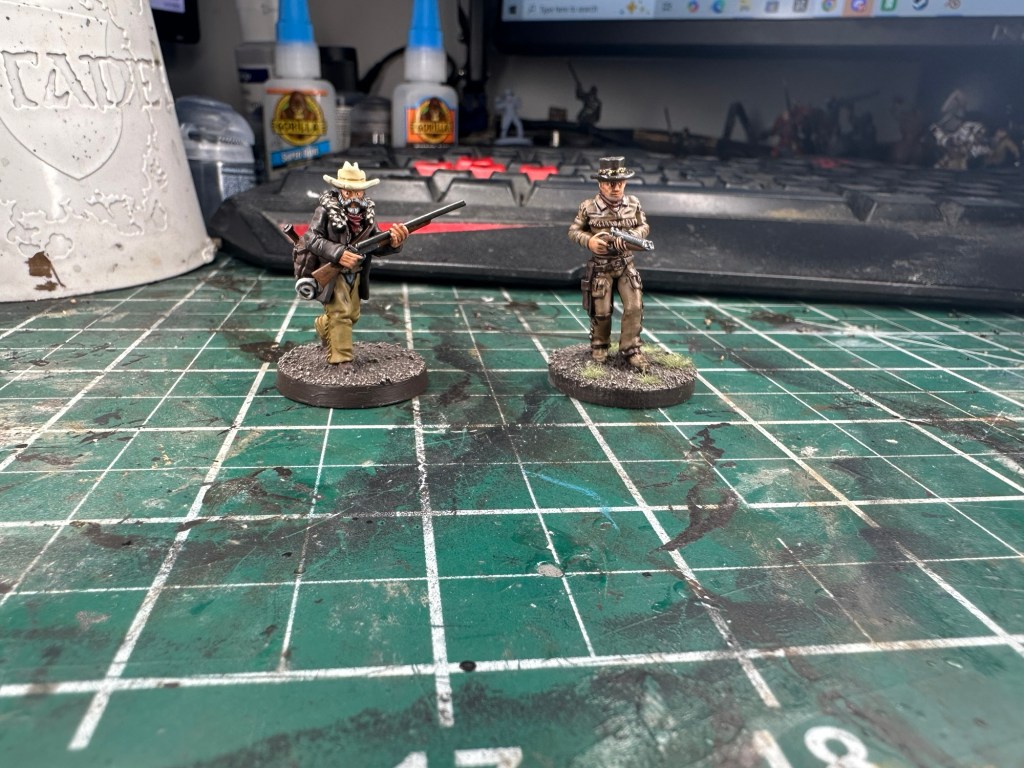
Not to leave Joe alone out in the old west, I’ve also started working on a small gang of cowboys, I purchased a couple 3d printed outdoorsmen from Etsy in January and immediately got to work painting them! Unfortunately, 2 of the 5 figures I bought were either damaged in shipment or broke soon after arrival – VERY disappointing….
I was able to finish two of the gang though, a model based on James Caan’s famous character “Tex” and another, more regal woodsman that yet remains unnamed…any suggestions?
Warhammer 40,000
Next up, I’ve been sitting on an old deamon prince model from a Made to Order offering a few years back. I had the whim to start painting the old boy up earlier in February and you can see my Work in Progress below! I really wanted to use fun, vibrant colors on this model and really push myself to improve my blending abilities, I think its turning out pretty good so far but there is still much work to be done on this model. I eventually aim to have the sword completed with a nice orange glow effect. I hope to get this guy done soon!

Warhammer: The Old World
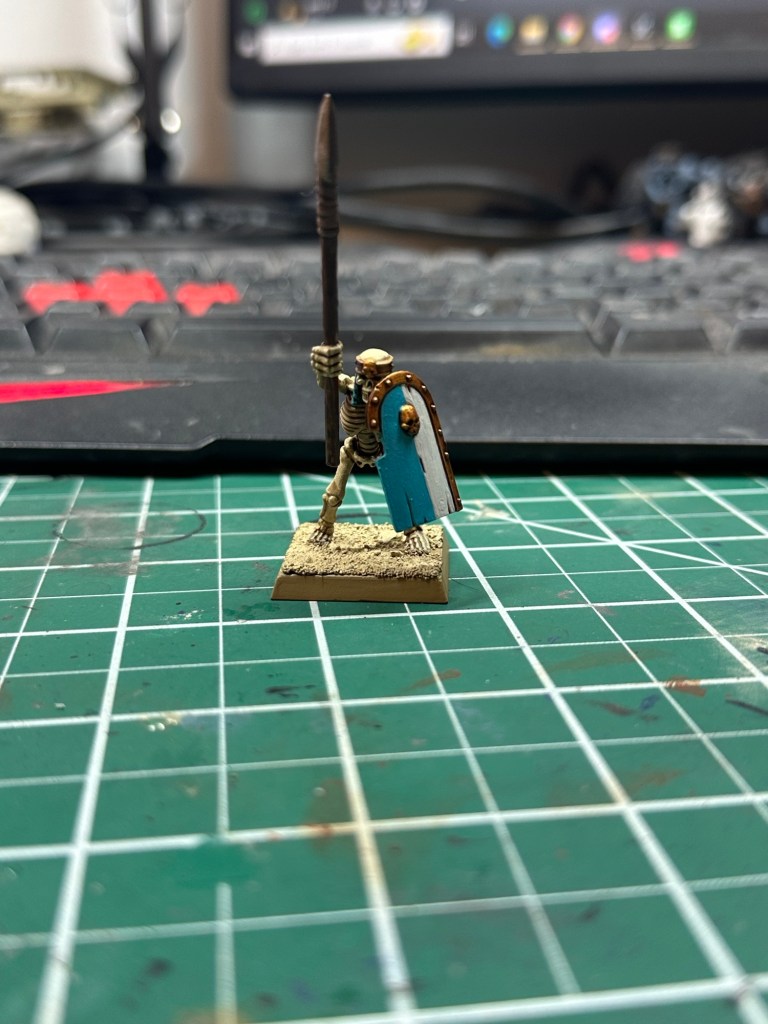
Next up on my Hobby carousal, a stop in The Old World. I had an old warrior priest that was waiting patiently for a couple paints of coat. He’s an ugly model but he’s got a great charm and I’m happy with him.

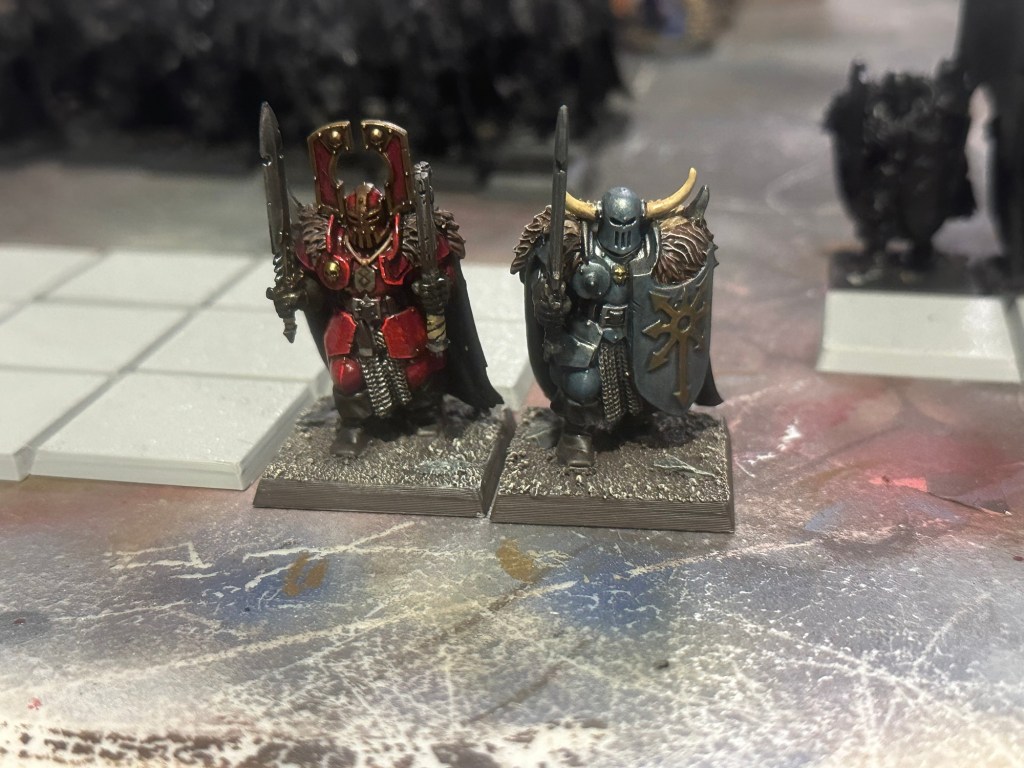
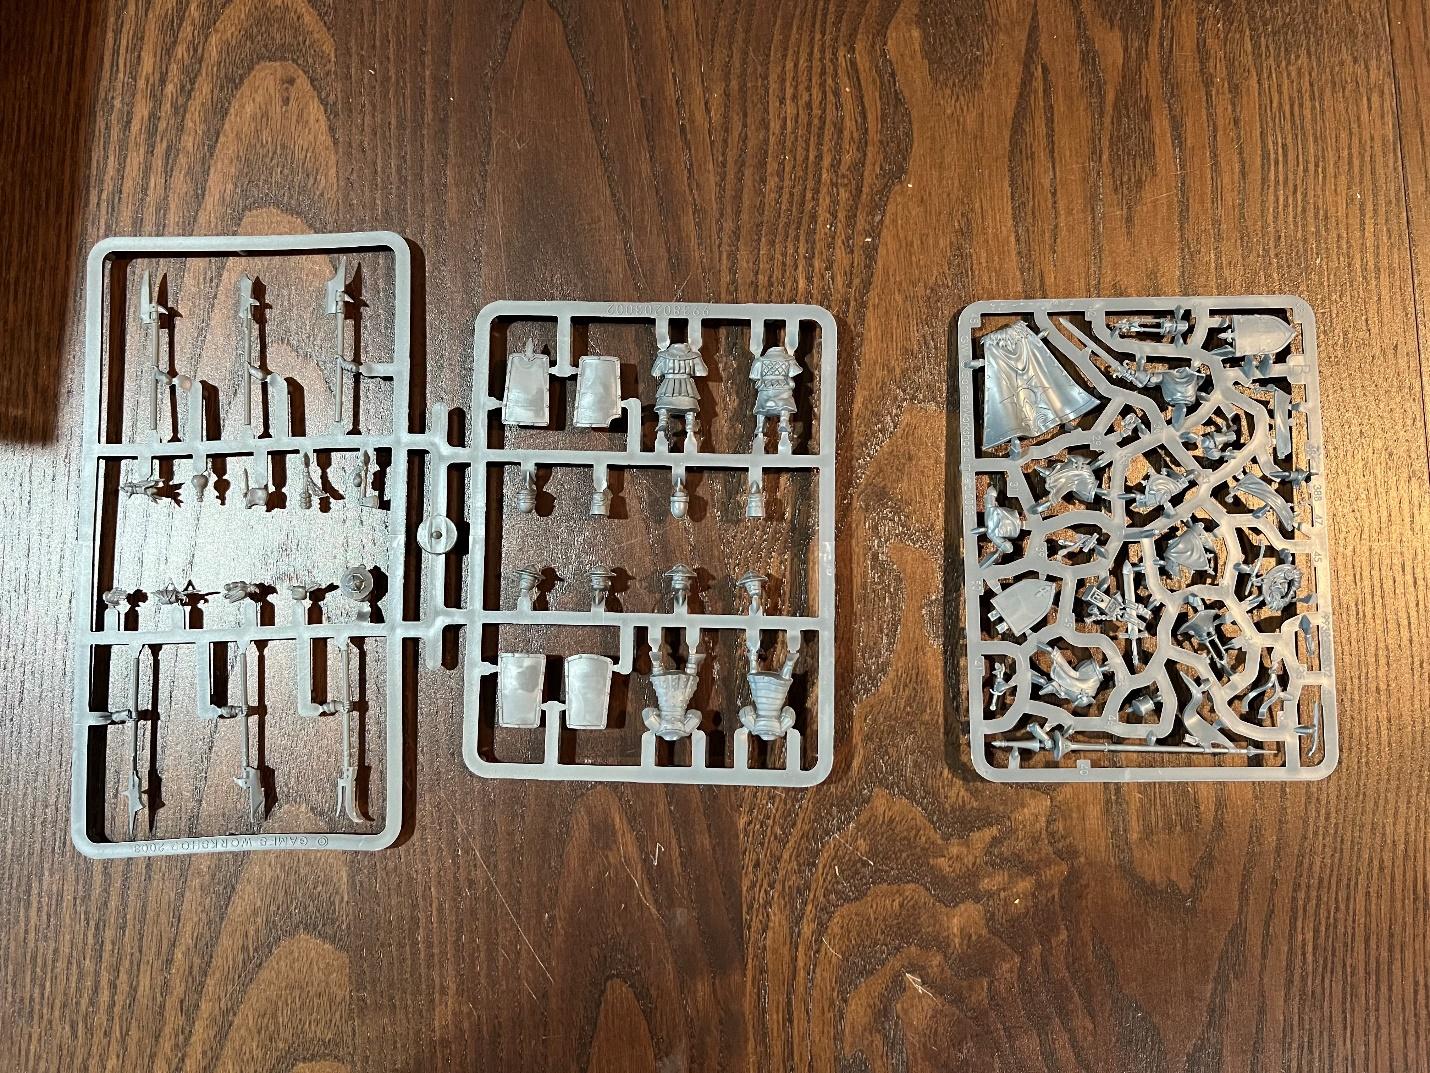
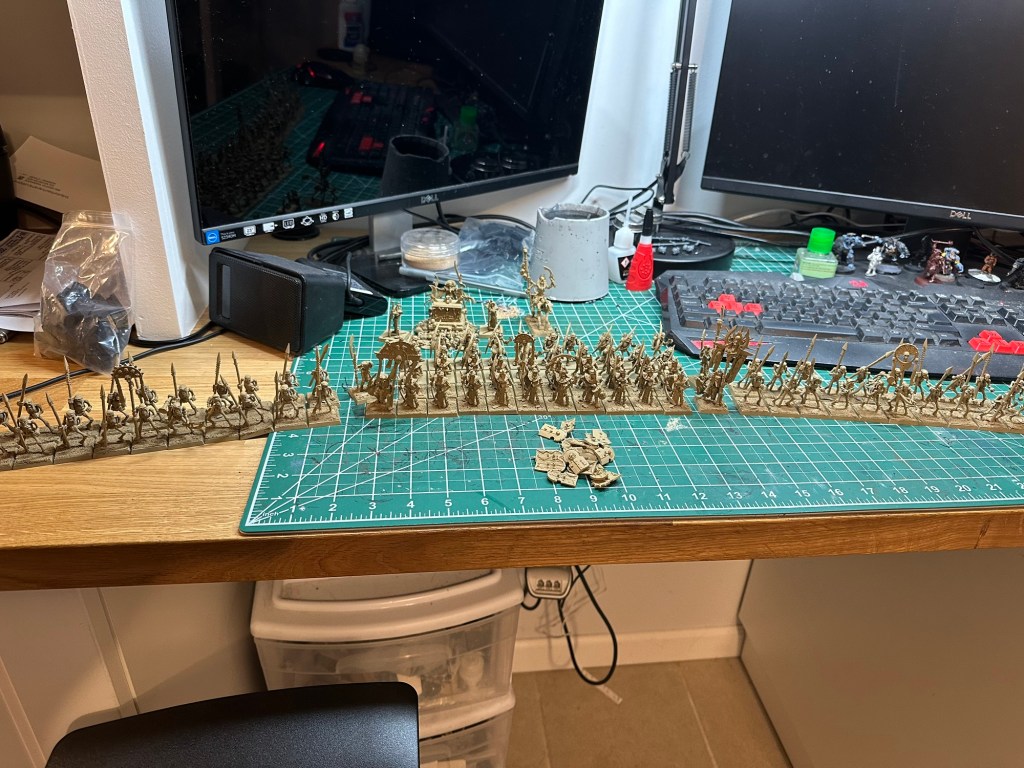
Next up we have the bulk of what I did in February, I won a nice little lot of used warriors of chaos with a chaos lord on steed. I’m really excited to get started on these guys in earnest, I rebased them all onto 30mm bases and managed to paint a couple test models before being called away to work on my Adepticon army. I’m hoping to get some progress on these guys in March, so long as I can finish my Adepticon force.

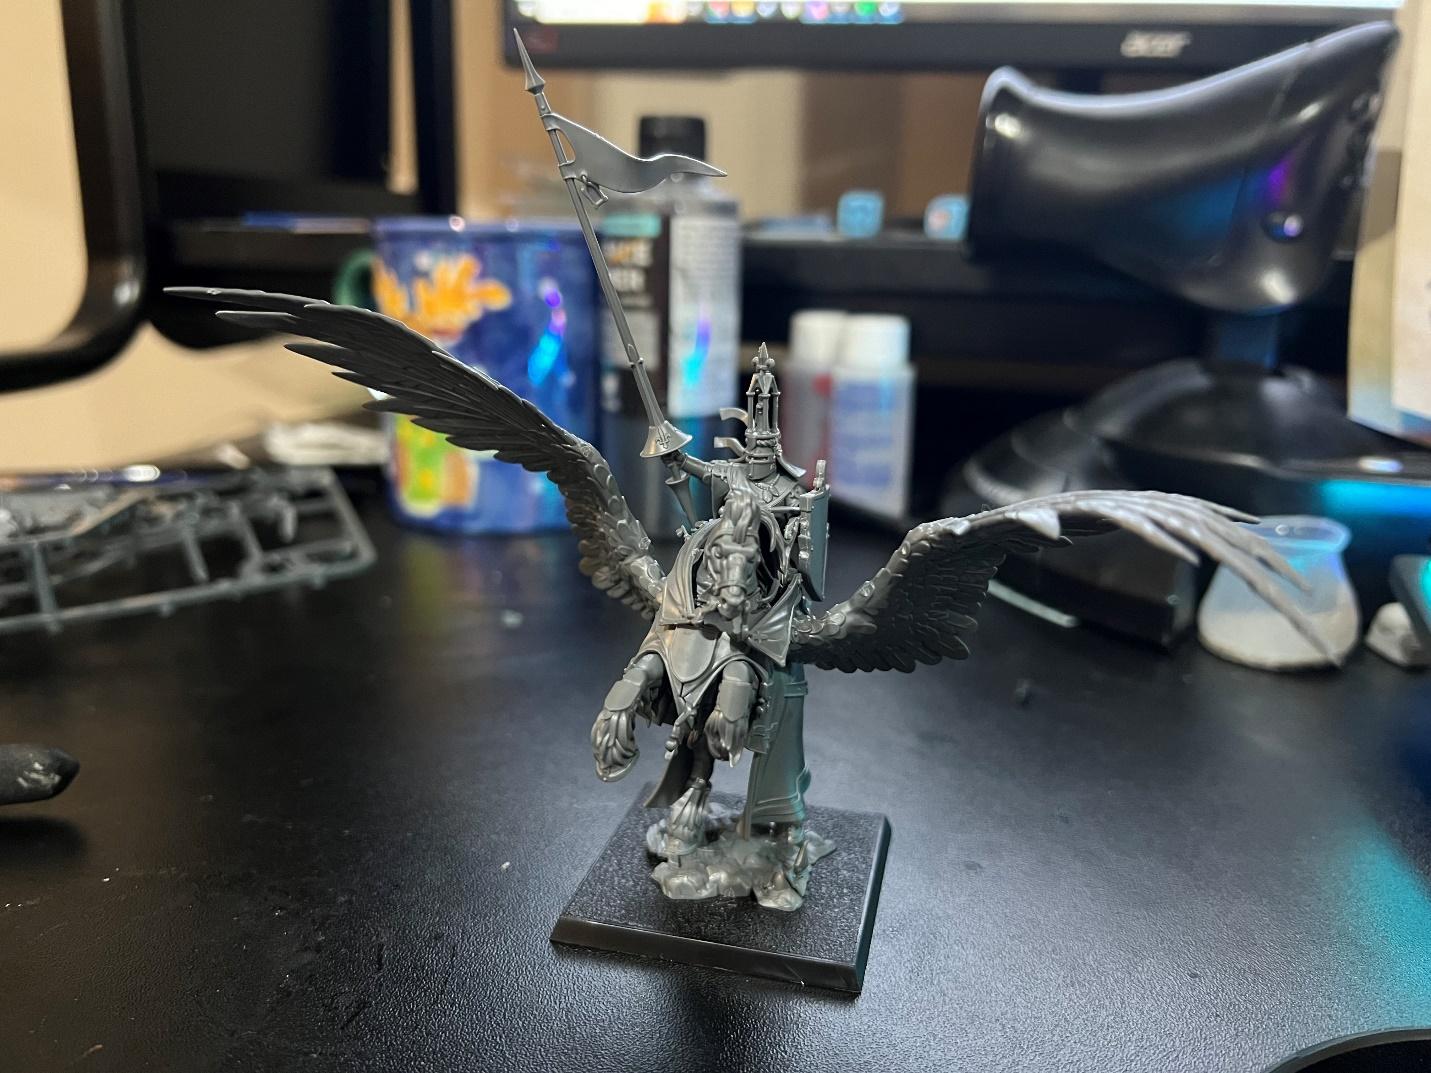
Lord of the Rings
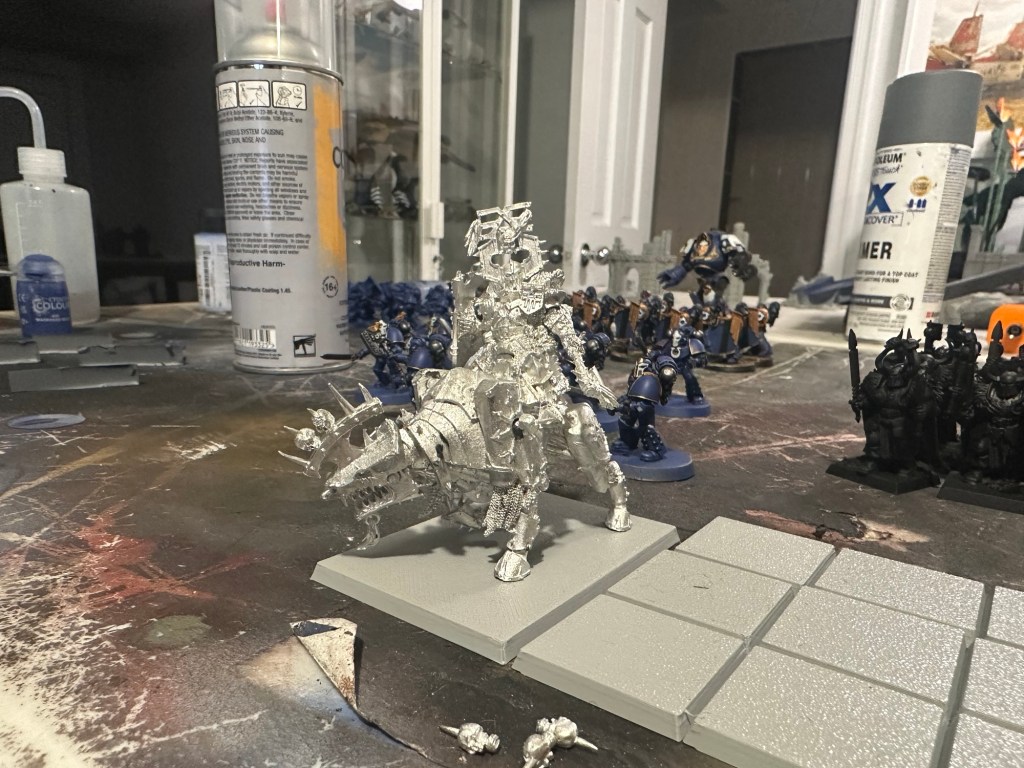
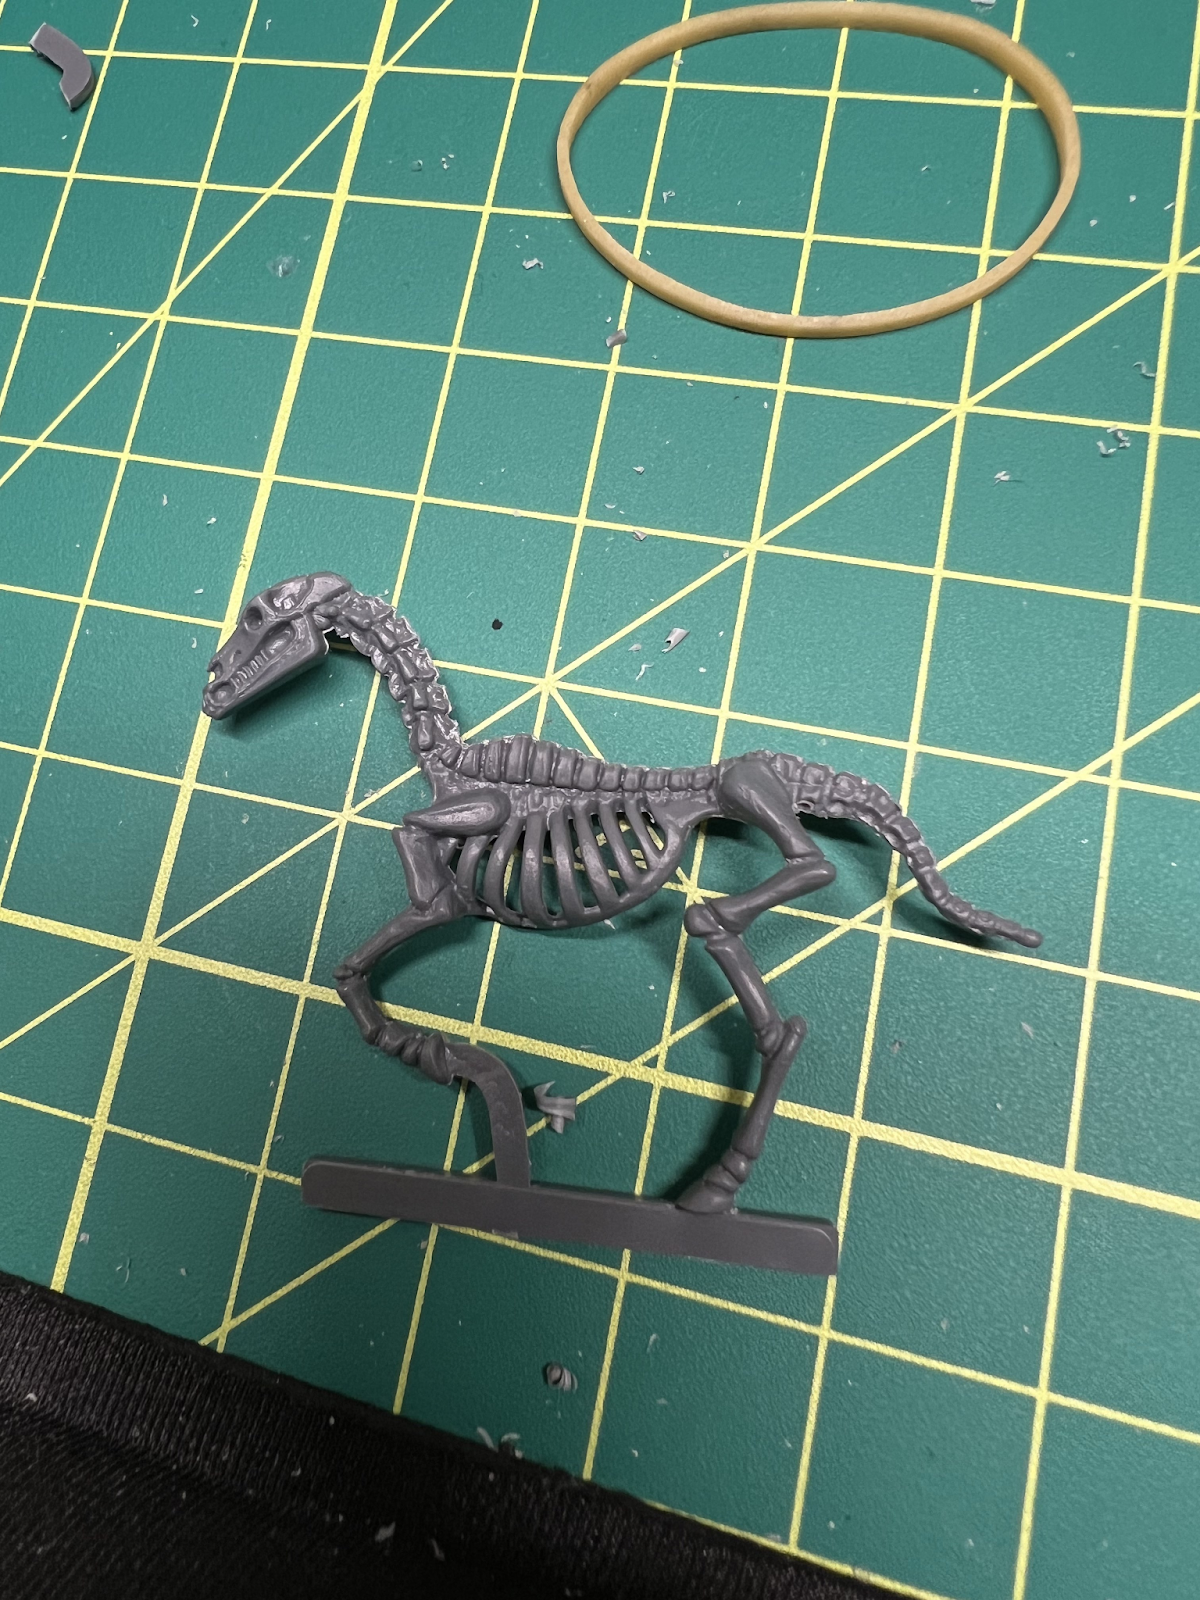
In the realm of Middle Earth this month, I painted up a Fellbeast (soon to be ridden by the Witch King, parts on the way) and a group of Osgiliath Veterans to round out my Minas Tirith revitalization project!


The Month Ahead: “We March for Macragge”
The Horus Heresy is where I should’ve focused my efforts this month but as you’ve seen above, I’ve been quite distracted with all of the other fabulous items on my workbench.
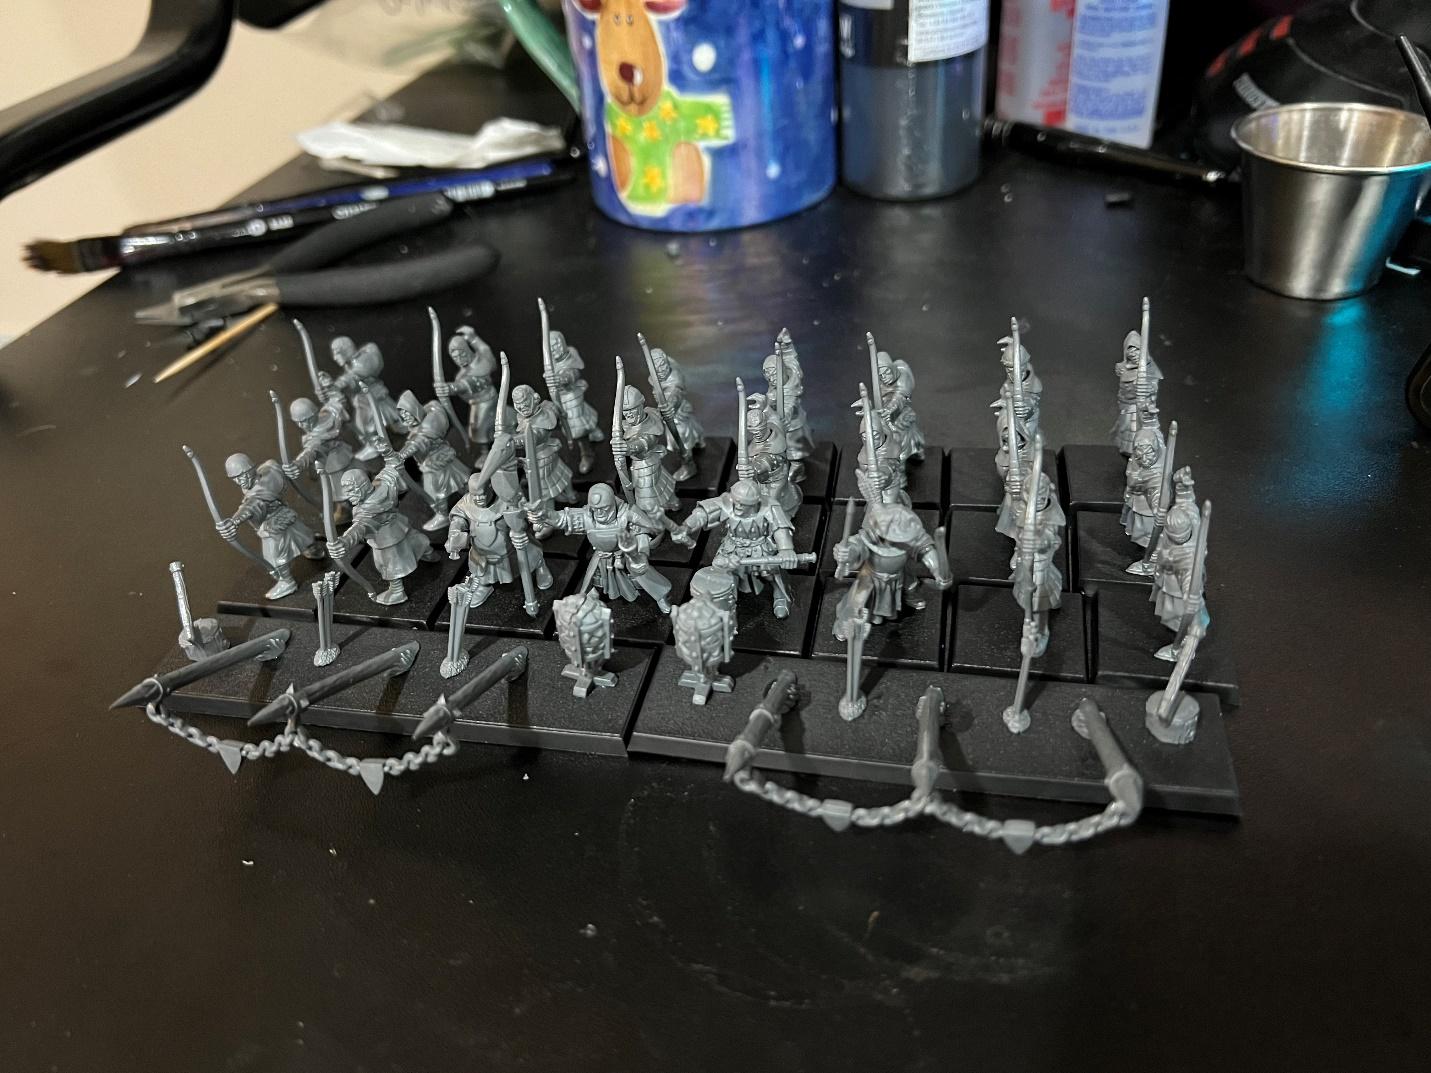
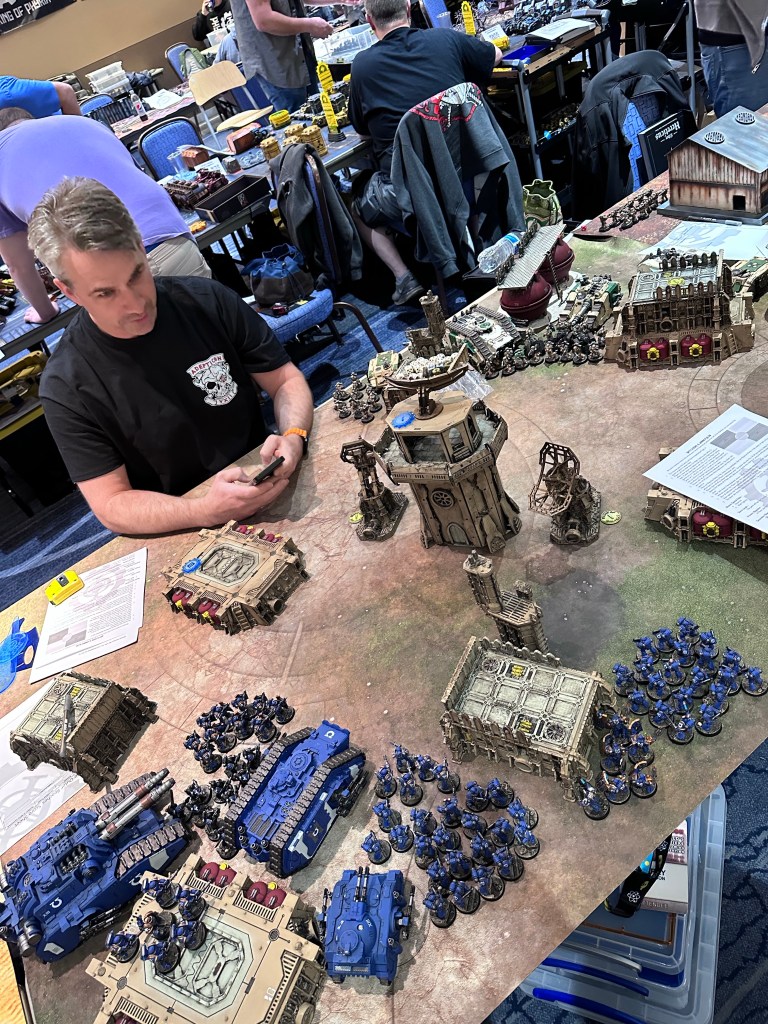
I say this is where I “Should” have focused my efforts on because I am headed to Milwaukee Wisconsin later in March to participate in Adepticon yet again! The main focus of my Adepticon will be yet again on the Horus Heresy, playing in a variety of Zone Mortalis events!
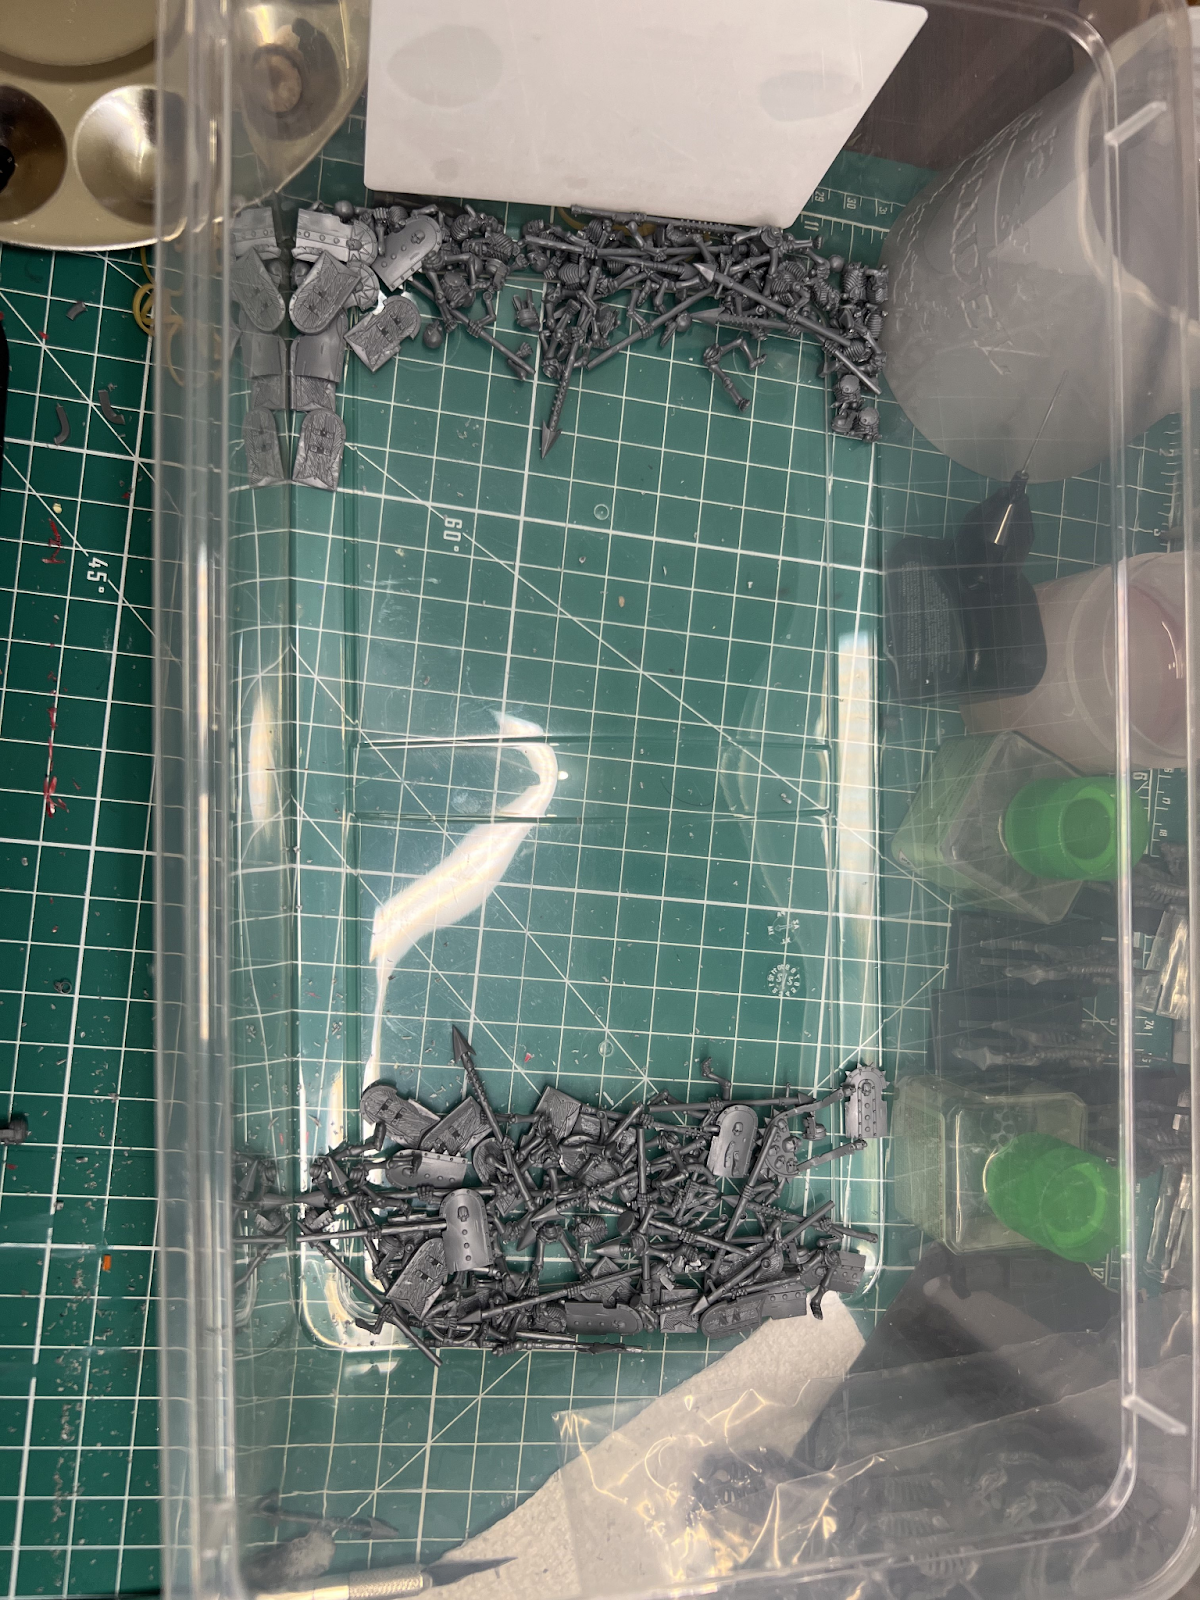
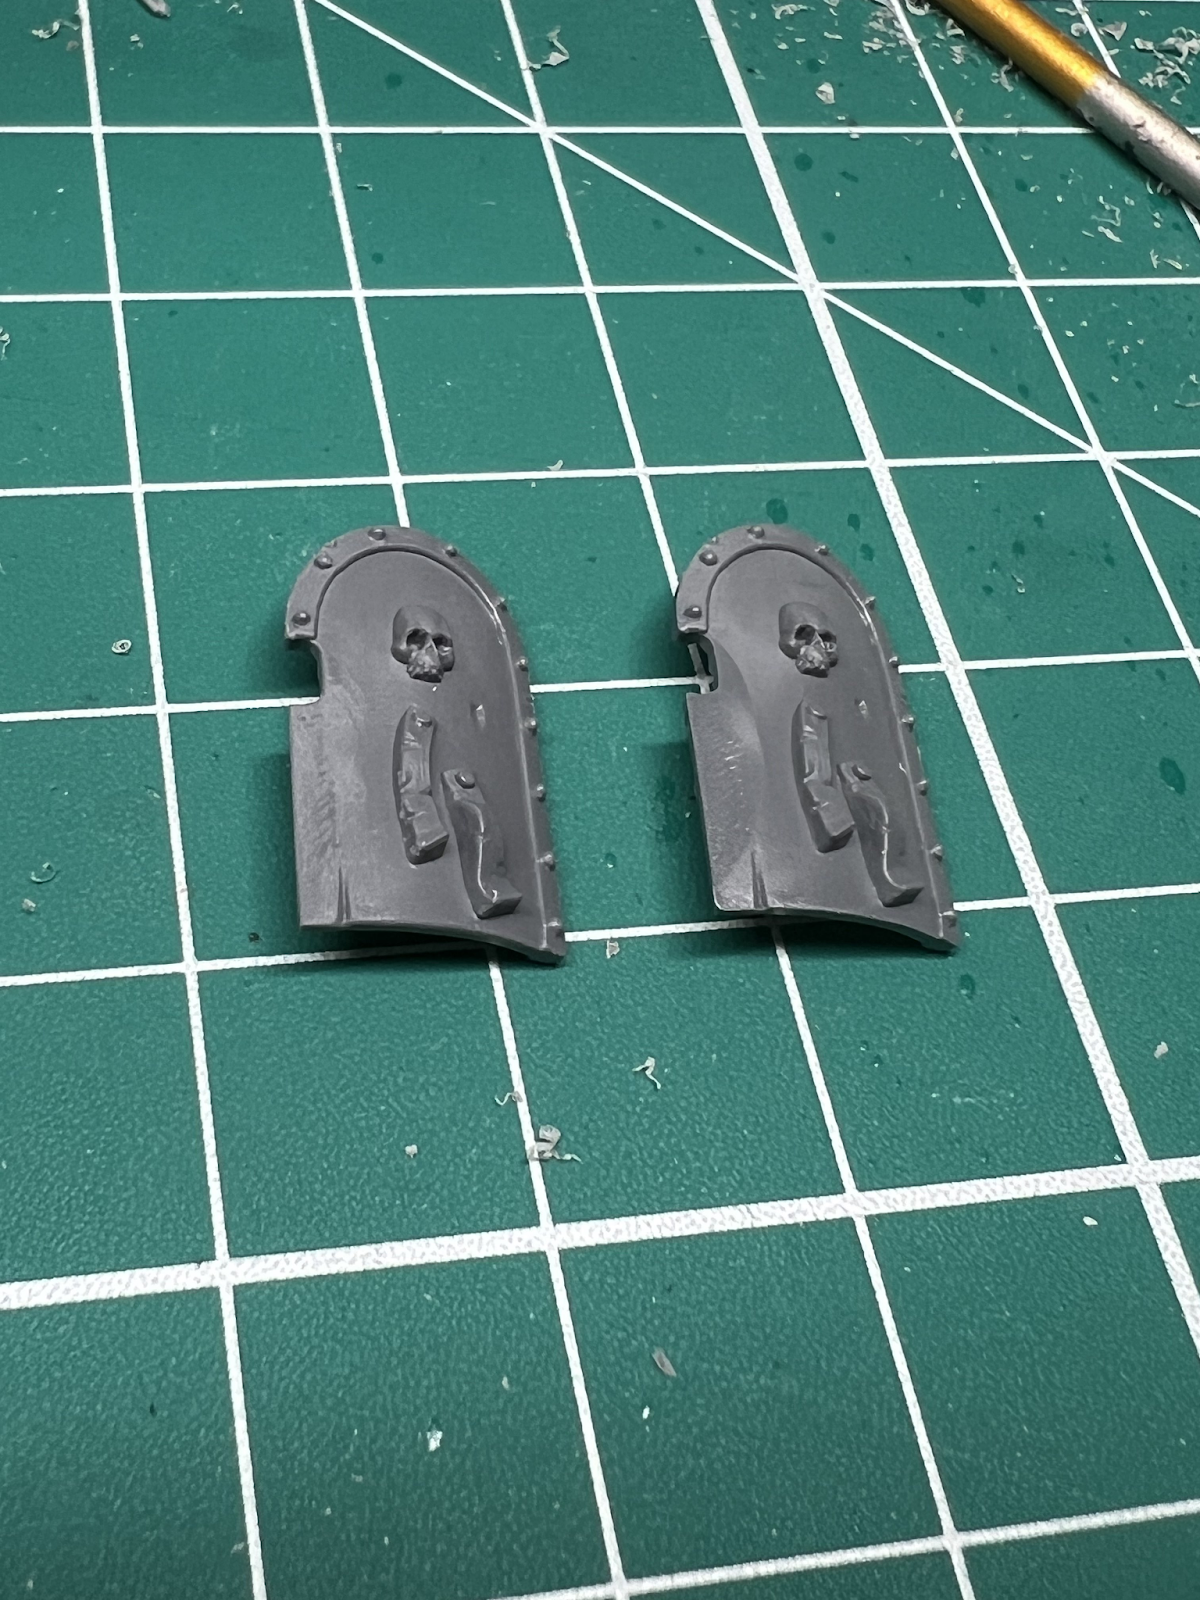
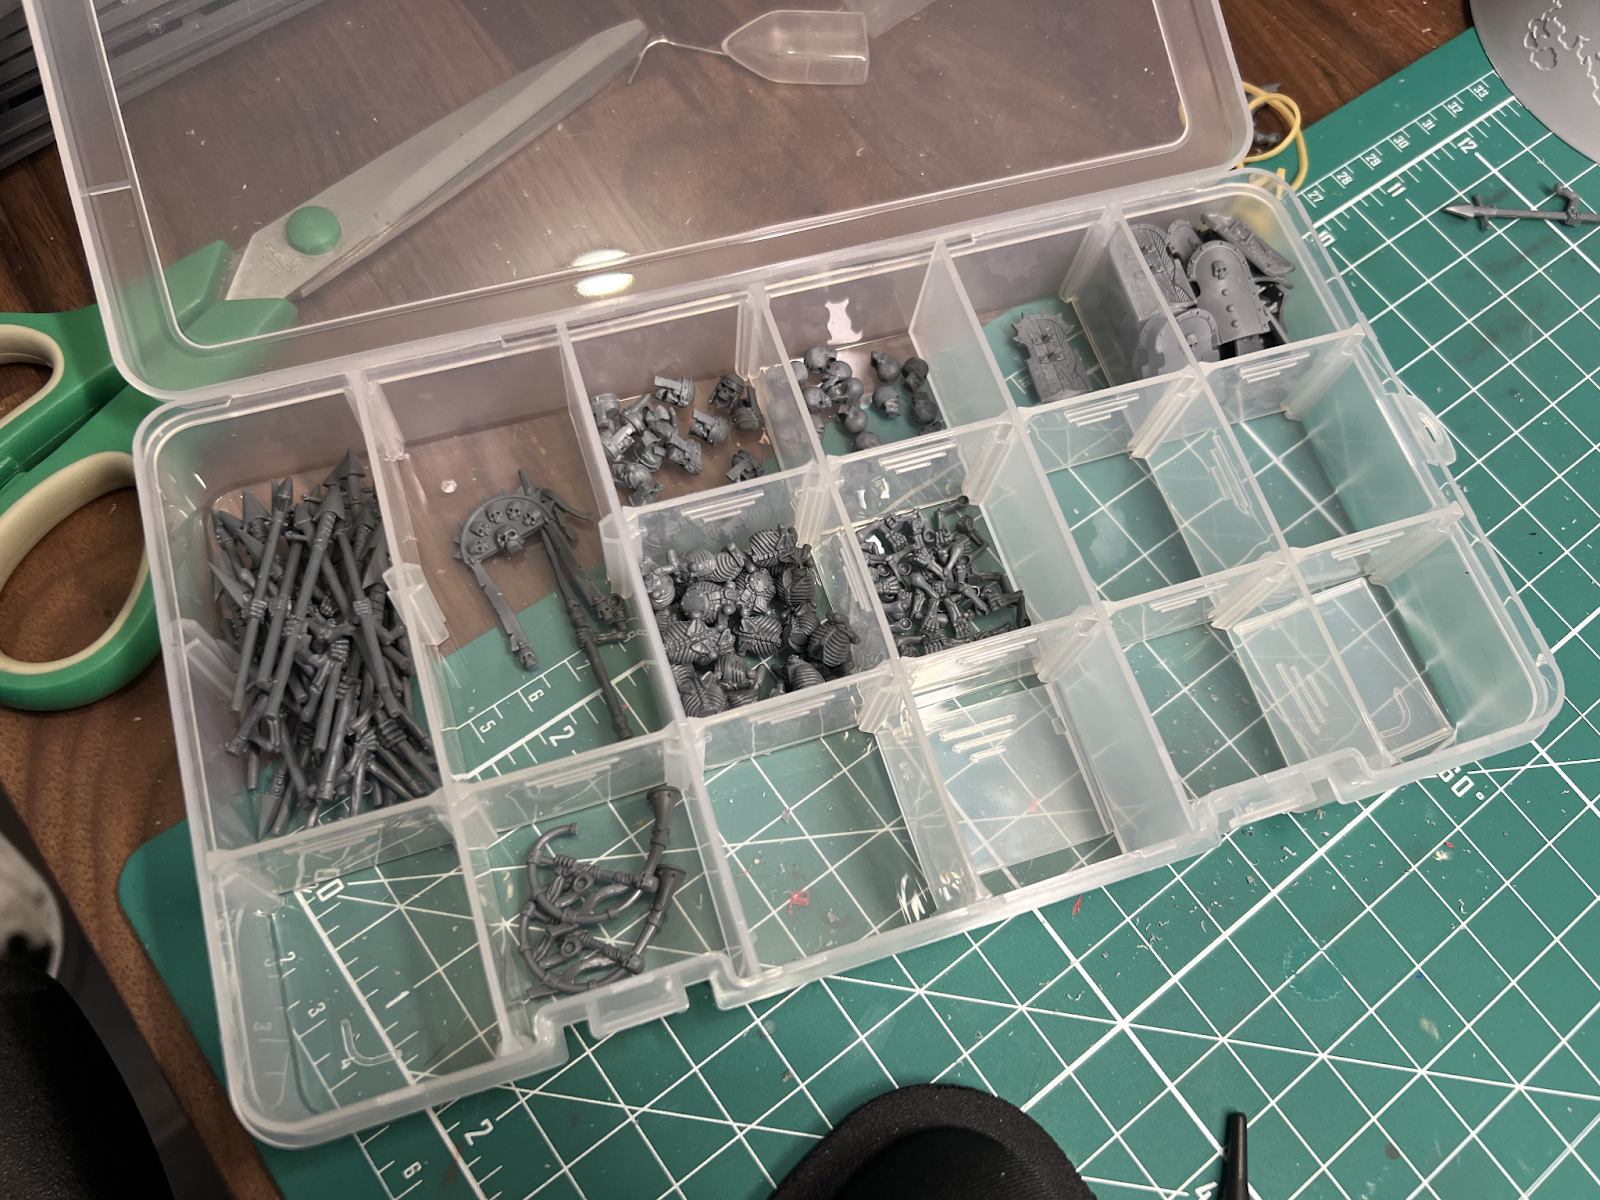
For these events, I plan to bring an elite boarding force of Ultramarines, all armed with shields. I’ve always, loved the idea of shields being used in the grim darkness that is the Warhammer universe and the Ultramarines have the most options for shield bearing madness so This will be a great opportunity for me to live out one of my hobby dreams.
Below you can see the Work-in-Progress status of the army, I’ve got 17 of the 43 models done to start the month of February…not great! At least they are all assembled though, that’s a start!
The complete list of models is:
- 1 Praetor
- 1 Legion Champion
- 10 Invictarus Suzerain
- 20 Praetorian Breachers
- 10 Breacher Marines
- 1 Contemptor Dreadnought

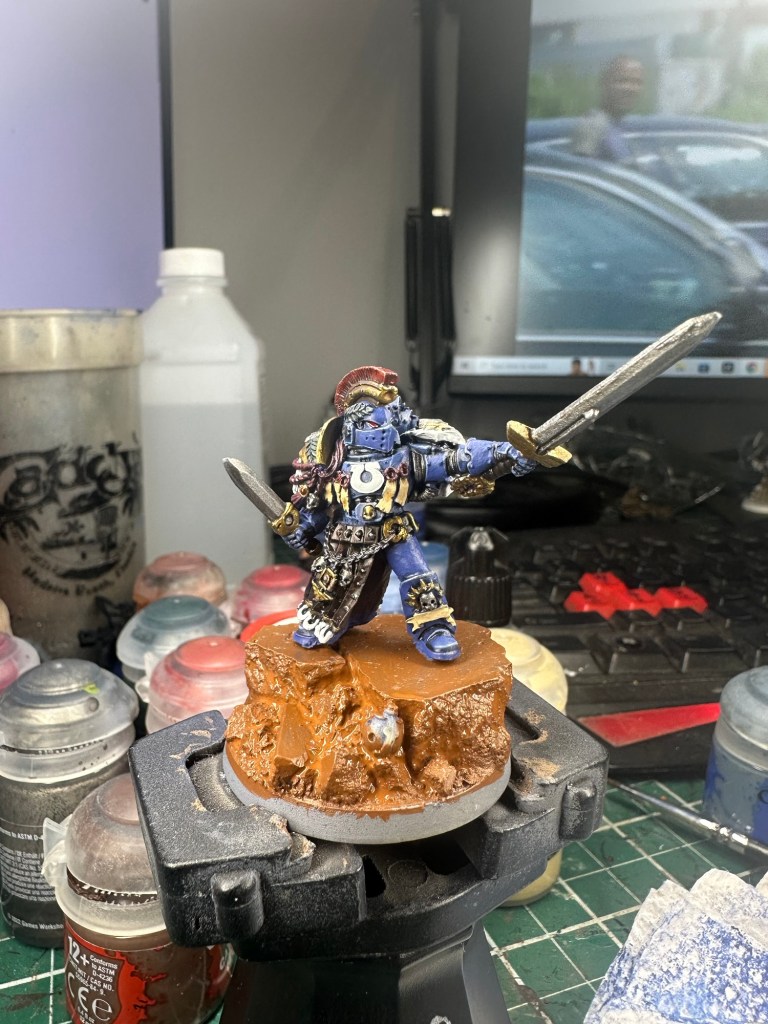
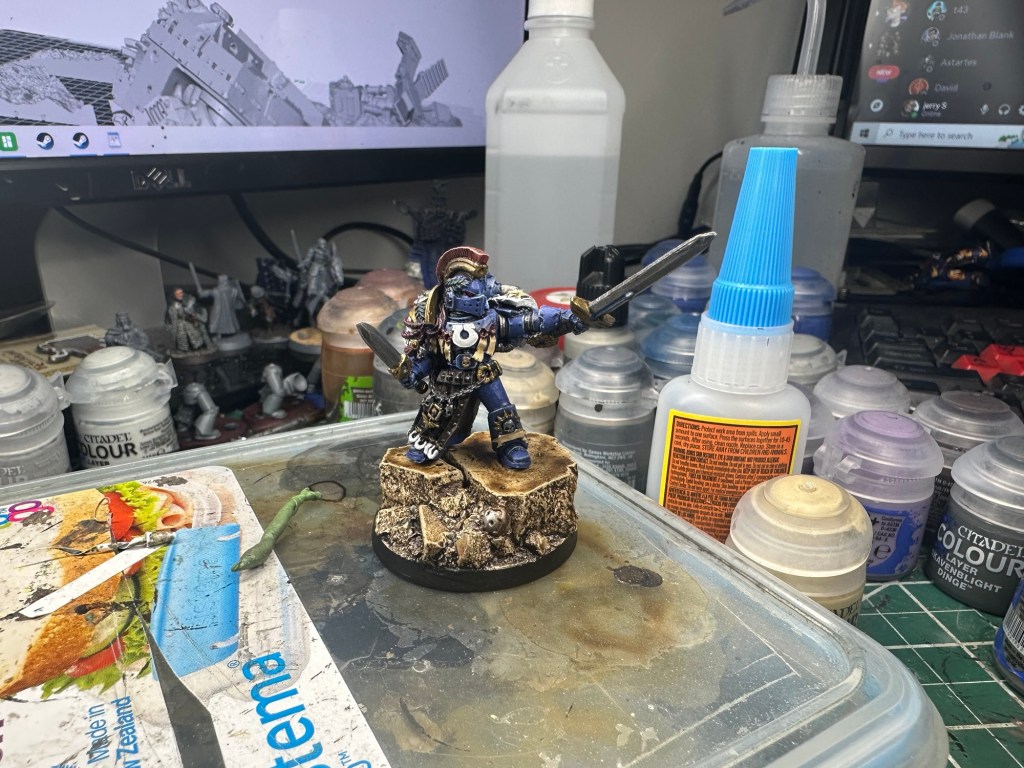
To start the project off, I painted up the below Ultramarines Champion, an old 40k model, It was a great and easy conversion to be used in Horus Heresy! I look forward to watching this guy chop his way through enemy characters!

I’ve got a really long way to go with this army as you can surely tell but with 3 weeks to get these guys finished, I think I should have enough time so long as I can stay focused on the task at hand!
Wish me luck and see you next time!


Leave a comment